Setting up a laboratory
The Laboratory is the server or cloud set up that you manage. LabTest only needs SSH access and Docker available. This tutorial walks you through an example setup using Amazon Web Services and CloudFormation.

A basic diagram of the Example Laboratory environment we will set up.
VPC. The Virtual Private Cloud is a logically isolated section of the AWS Cloud. This is the isolation part of our environment. We use a cloud formation template from Widdix to create this.
SSH Bastion. A secure shell bastion is an entrance to monitor and manage access to servers that don’t have SSH publicly enabled. We use an SSH bastion template from Widdix to create this.
IAM public key management. Widdix has a great article about managing SSH access through IAM. Basically you add the user’s public SSH key to their IAM profile, and the SSH bastion checks it when they attempt to log in.
Secret Provider. This is an AWS Lambda function that generates and stores secrets for Cloud Formation templates. It is created using the Binxio cfn-secret-provider template. This service is used to generate public and private RSA keys for the default ec2-user on the Test Server. This allows you to create a machine user on GitHub to check out code repos.
Test Server. The test server is an EC2 instance running Docker and nginx proxy. Nginx proxy is an automated reverse proxy for Docker containers. It will route any connection on port 80 to the appropriate running Docker container with a VIRTUAL_HOST environment variable set.
An EBS volume is connected, but not mounted, for Docker to store the containers (via the devicemapper driver).
We created a test server template to create this server.
Wildcard DNS entry. Since we want the experiments available via the internet, we need a simple dynamic way to manage the DNS. A wildcard DNS entry will route traffic for any subdomain to a specific address. So, if we say “any address in the test.example.com subdomain routes to the test server,” then the test server can decide how to route the traffic.
When the Docker container for an experiment runs, it can tell nginx proxy to route all traffic for foo.test.example.com to it.

Create the VPC
Follow this link to create a VPC stack. This template creates a VPC with private and public subnets in two Availability Zones
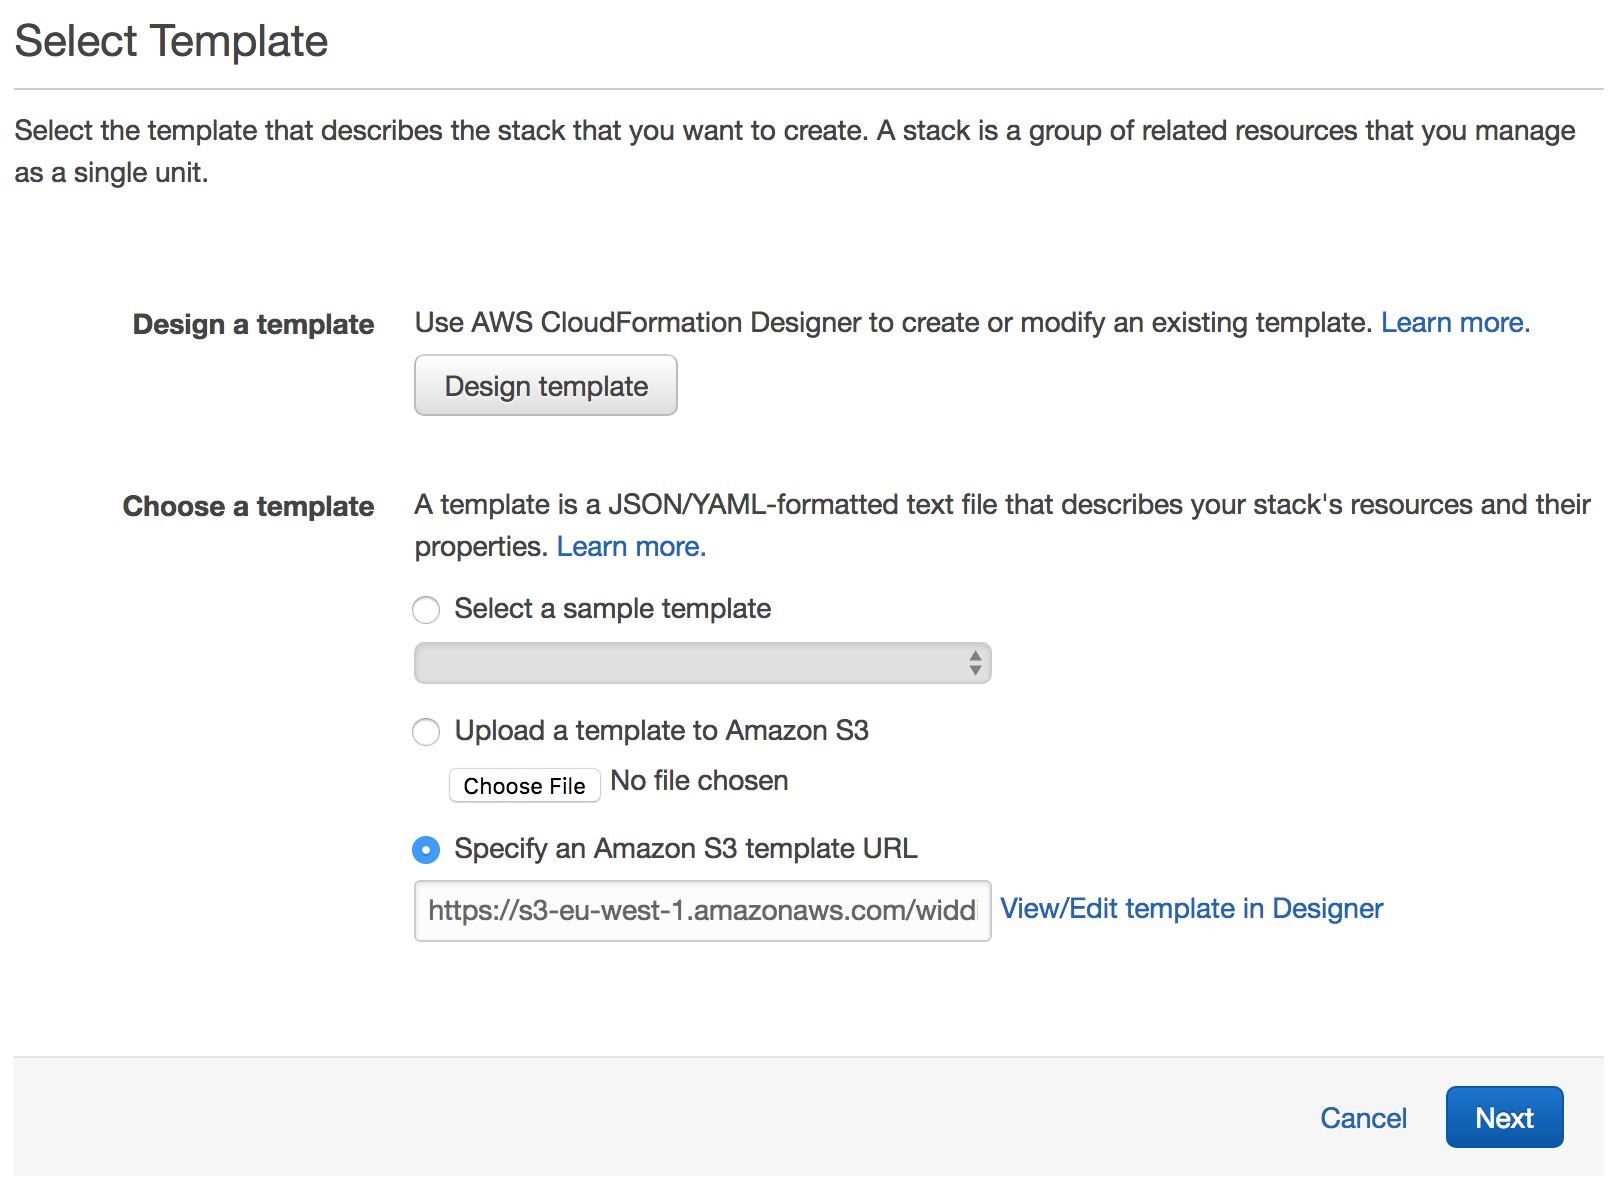
The select template page.
Click Next to proceed with the next step of the wizard.
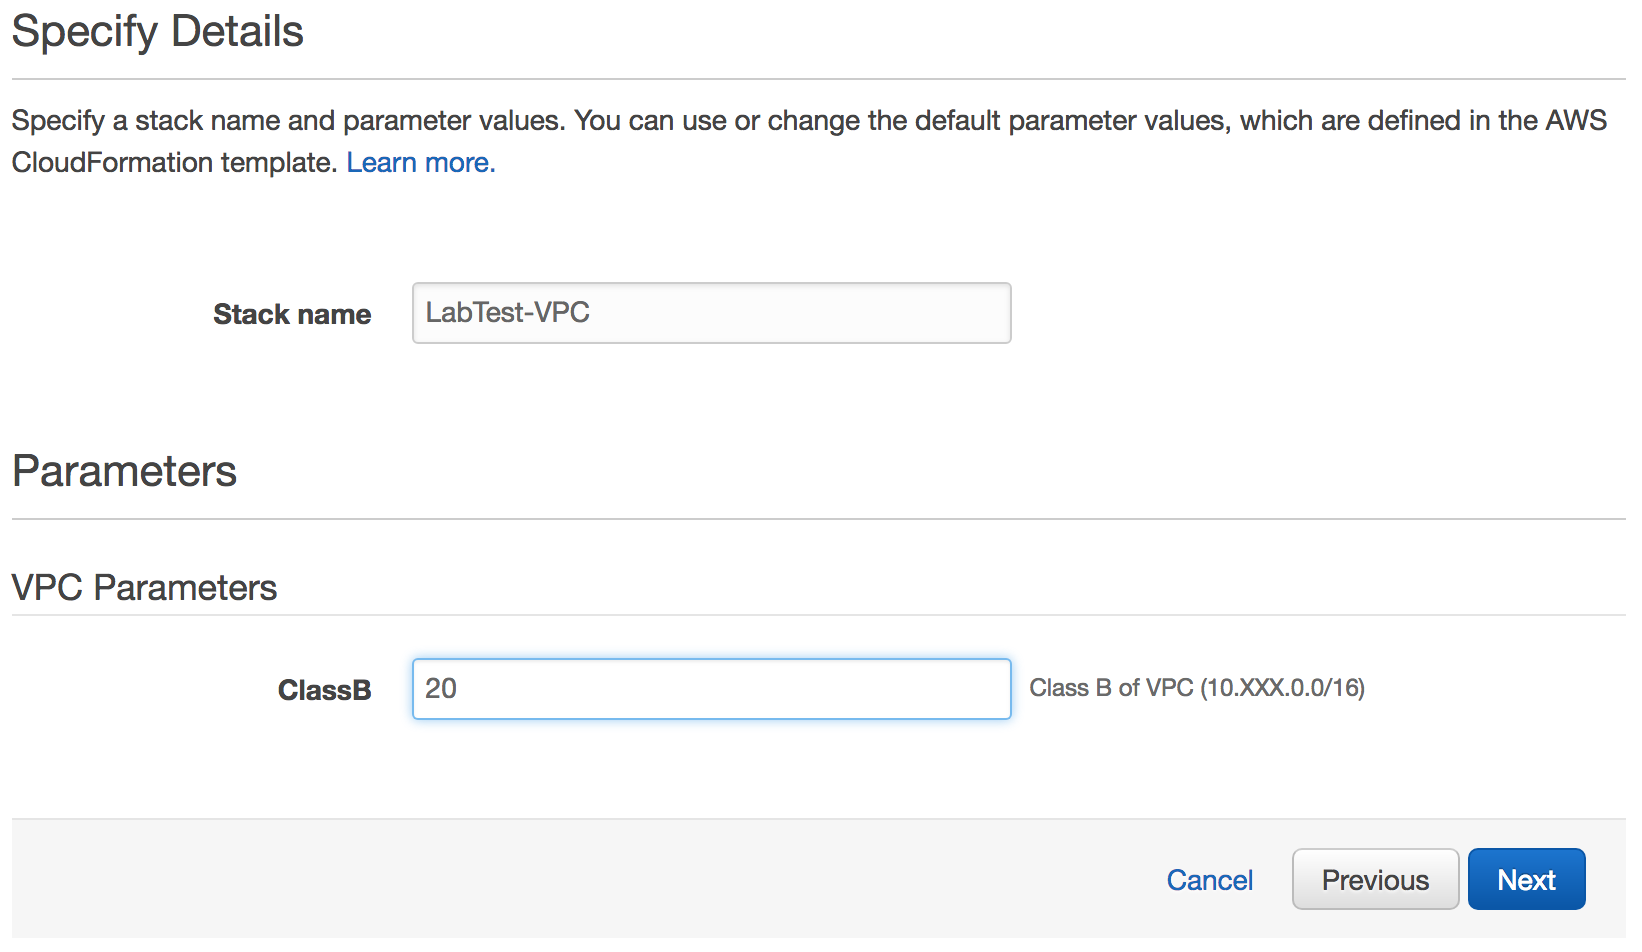
Specify parameters for the VPC stack template.
Give the stack a name, like LabTest-VPC.
For the ClassB parameter, enter a value between 1 and 254. This is the second number of the private address.
Click Next to proceed with the next step of the wizard.
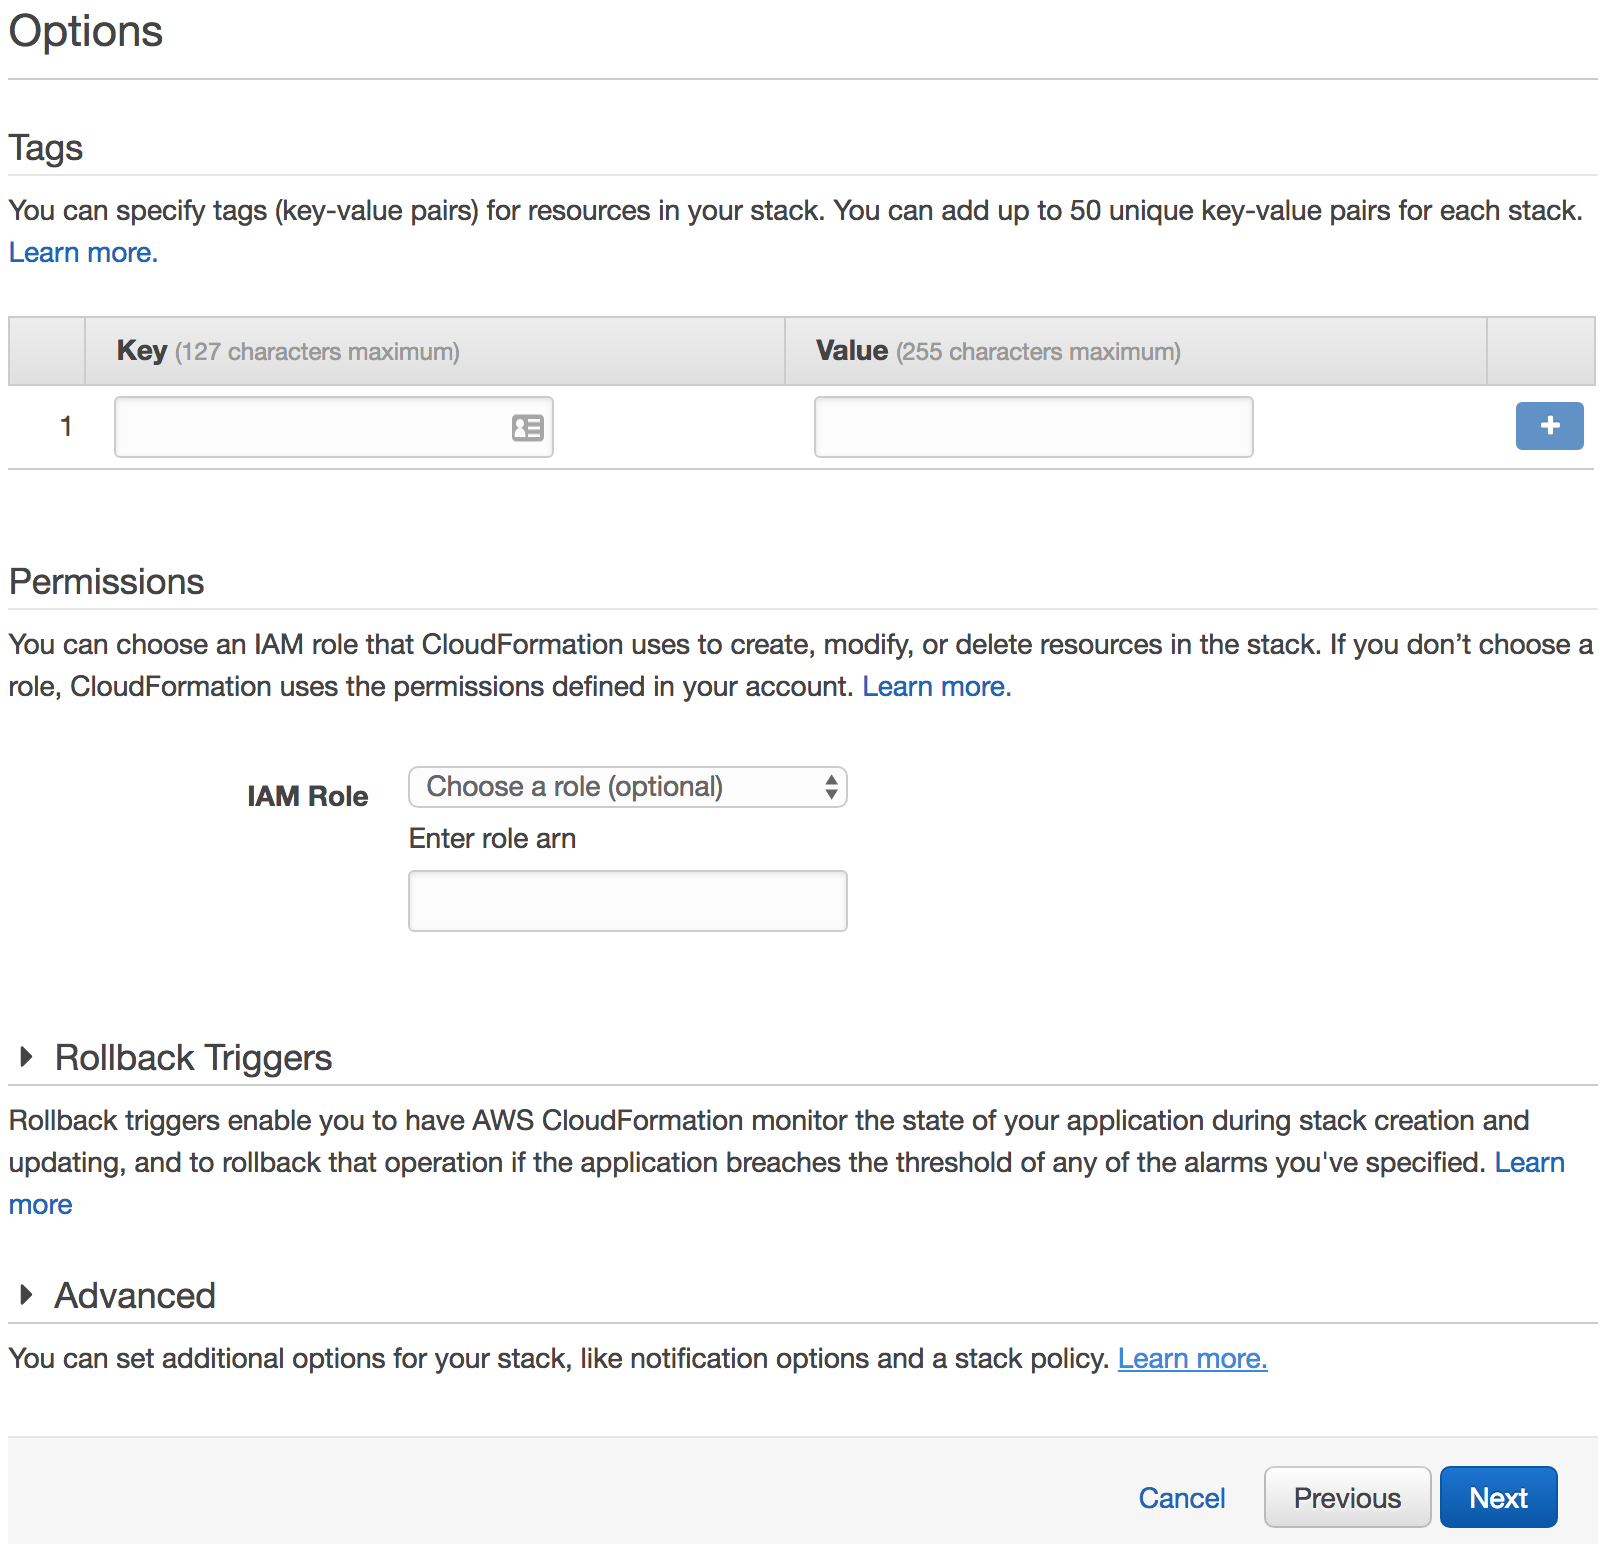
Skip the options for the VPC stack template.
Click Next to skip the Options step of the wizard.
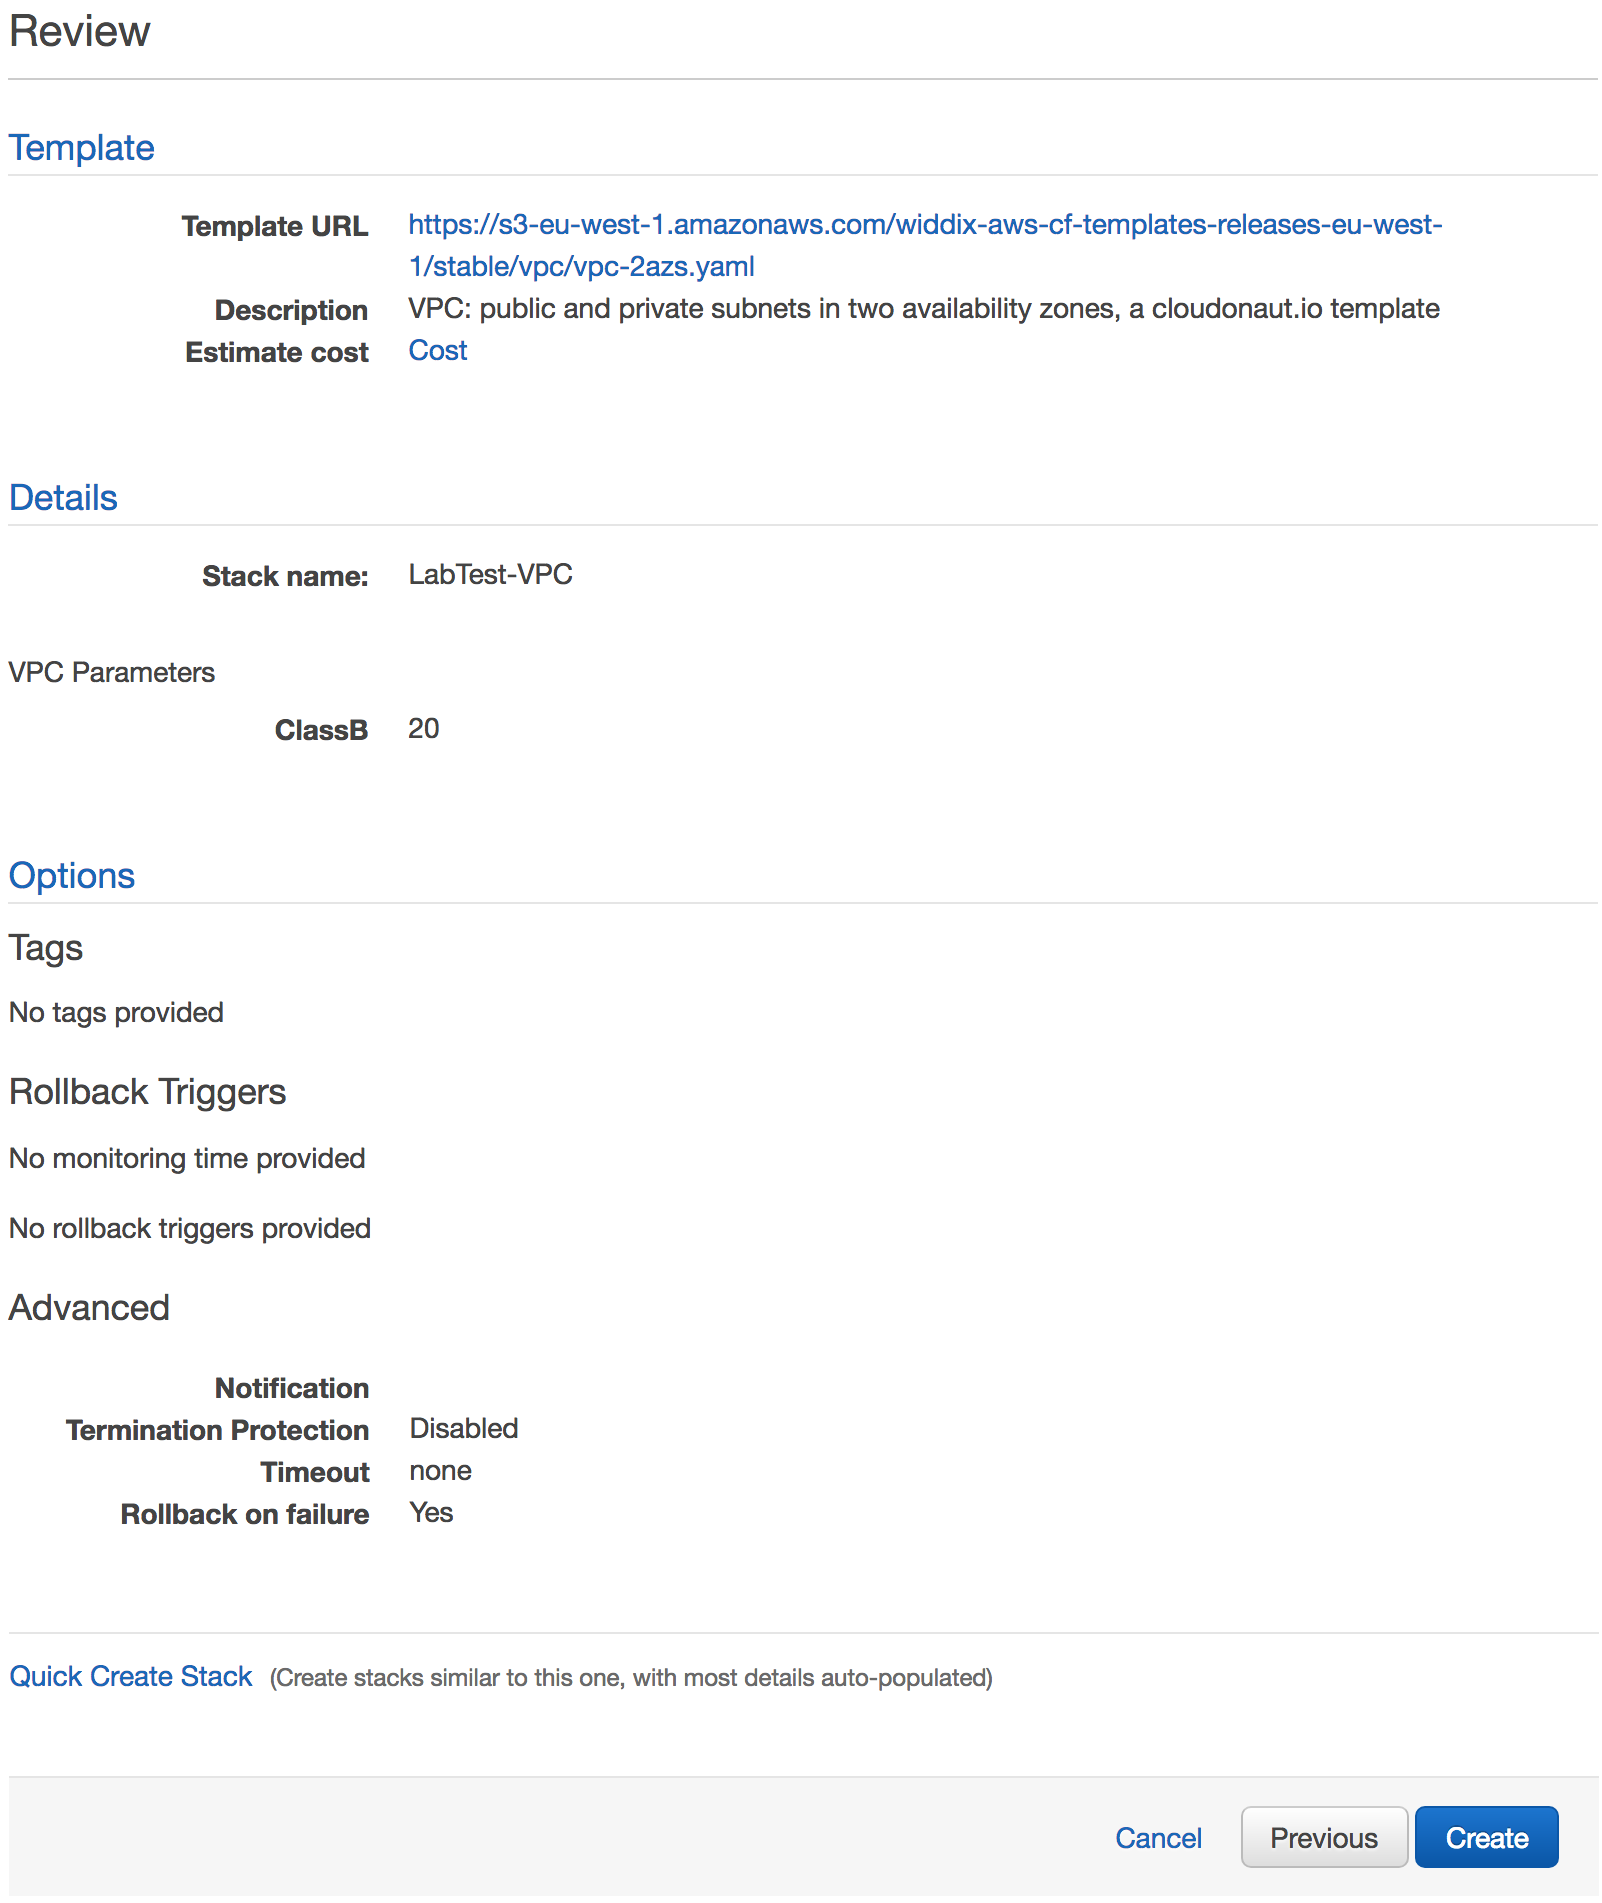
Review everything before creating the VPC.
Click Create to start the creation of the stack.

When it is done, it will say “CREATE_COMPLETE.”
Wait until the stack reaches the state CREATE_COMPLETE.
Create a Key Pair
This key gets assigned to the default user so you can connect as that user, if necessary.
Go to the EC2 dashboard.
Under Network & Security section on the side bar, select Key Pairs.

Click Create Key Pair.
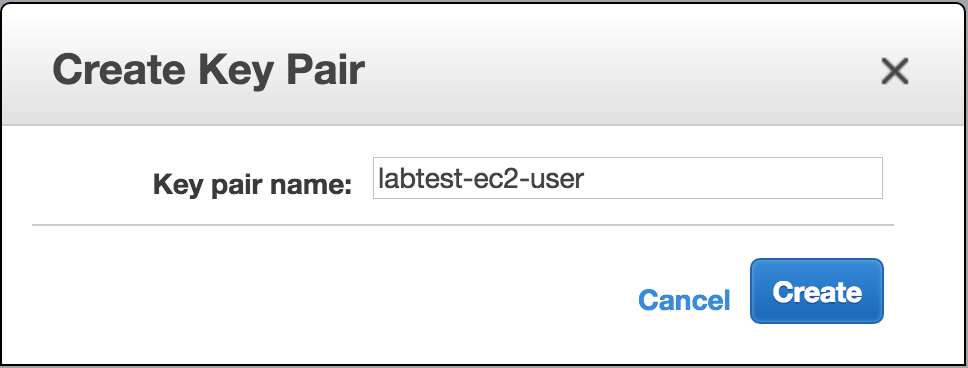
Give the key pair a name.
Click Create.
Create an SSH Bastion
Follow this link to create a SSH bastion stack.
The select template page.
Click Next to proceed with the next step of the wizard.

Specify parameters for the SSH bastion stack template.
Put in a Stack name like LabTest-ssh-bastion.
In the ParentVPCStack field, put in the name of the VPC stack you created previously. You can leave ParentAlertStack and ParentZoneStack blank.
In the InstanceType field, enter in a valid AWS instance type.
In the KeyName field, enter in the name of the key pair you created previously.
Set IAMUserSSHAccess to true so you can use IAM to manage each user’s access.
Set the LogsRetentionInDays to the amount you want.
Leave SubDomainName blank.
Click Next.
Skip the options for the SSH bastion stack template.
Click Next to skip the Options step of the wizard.
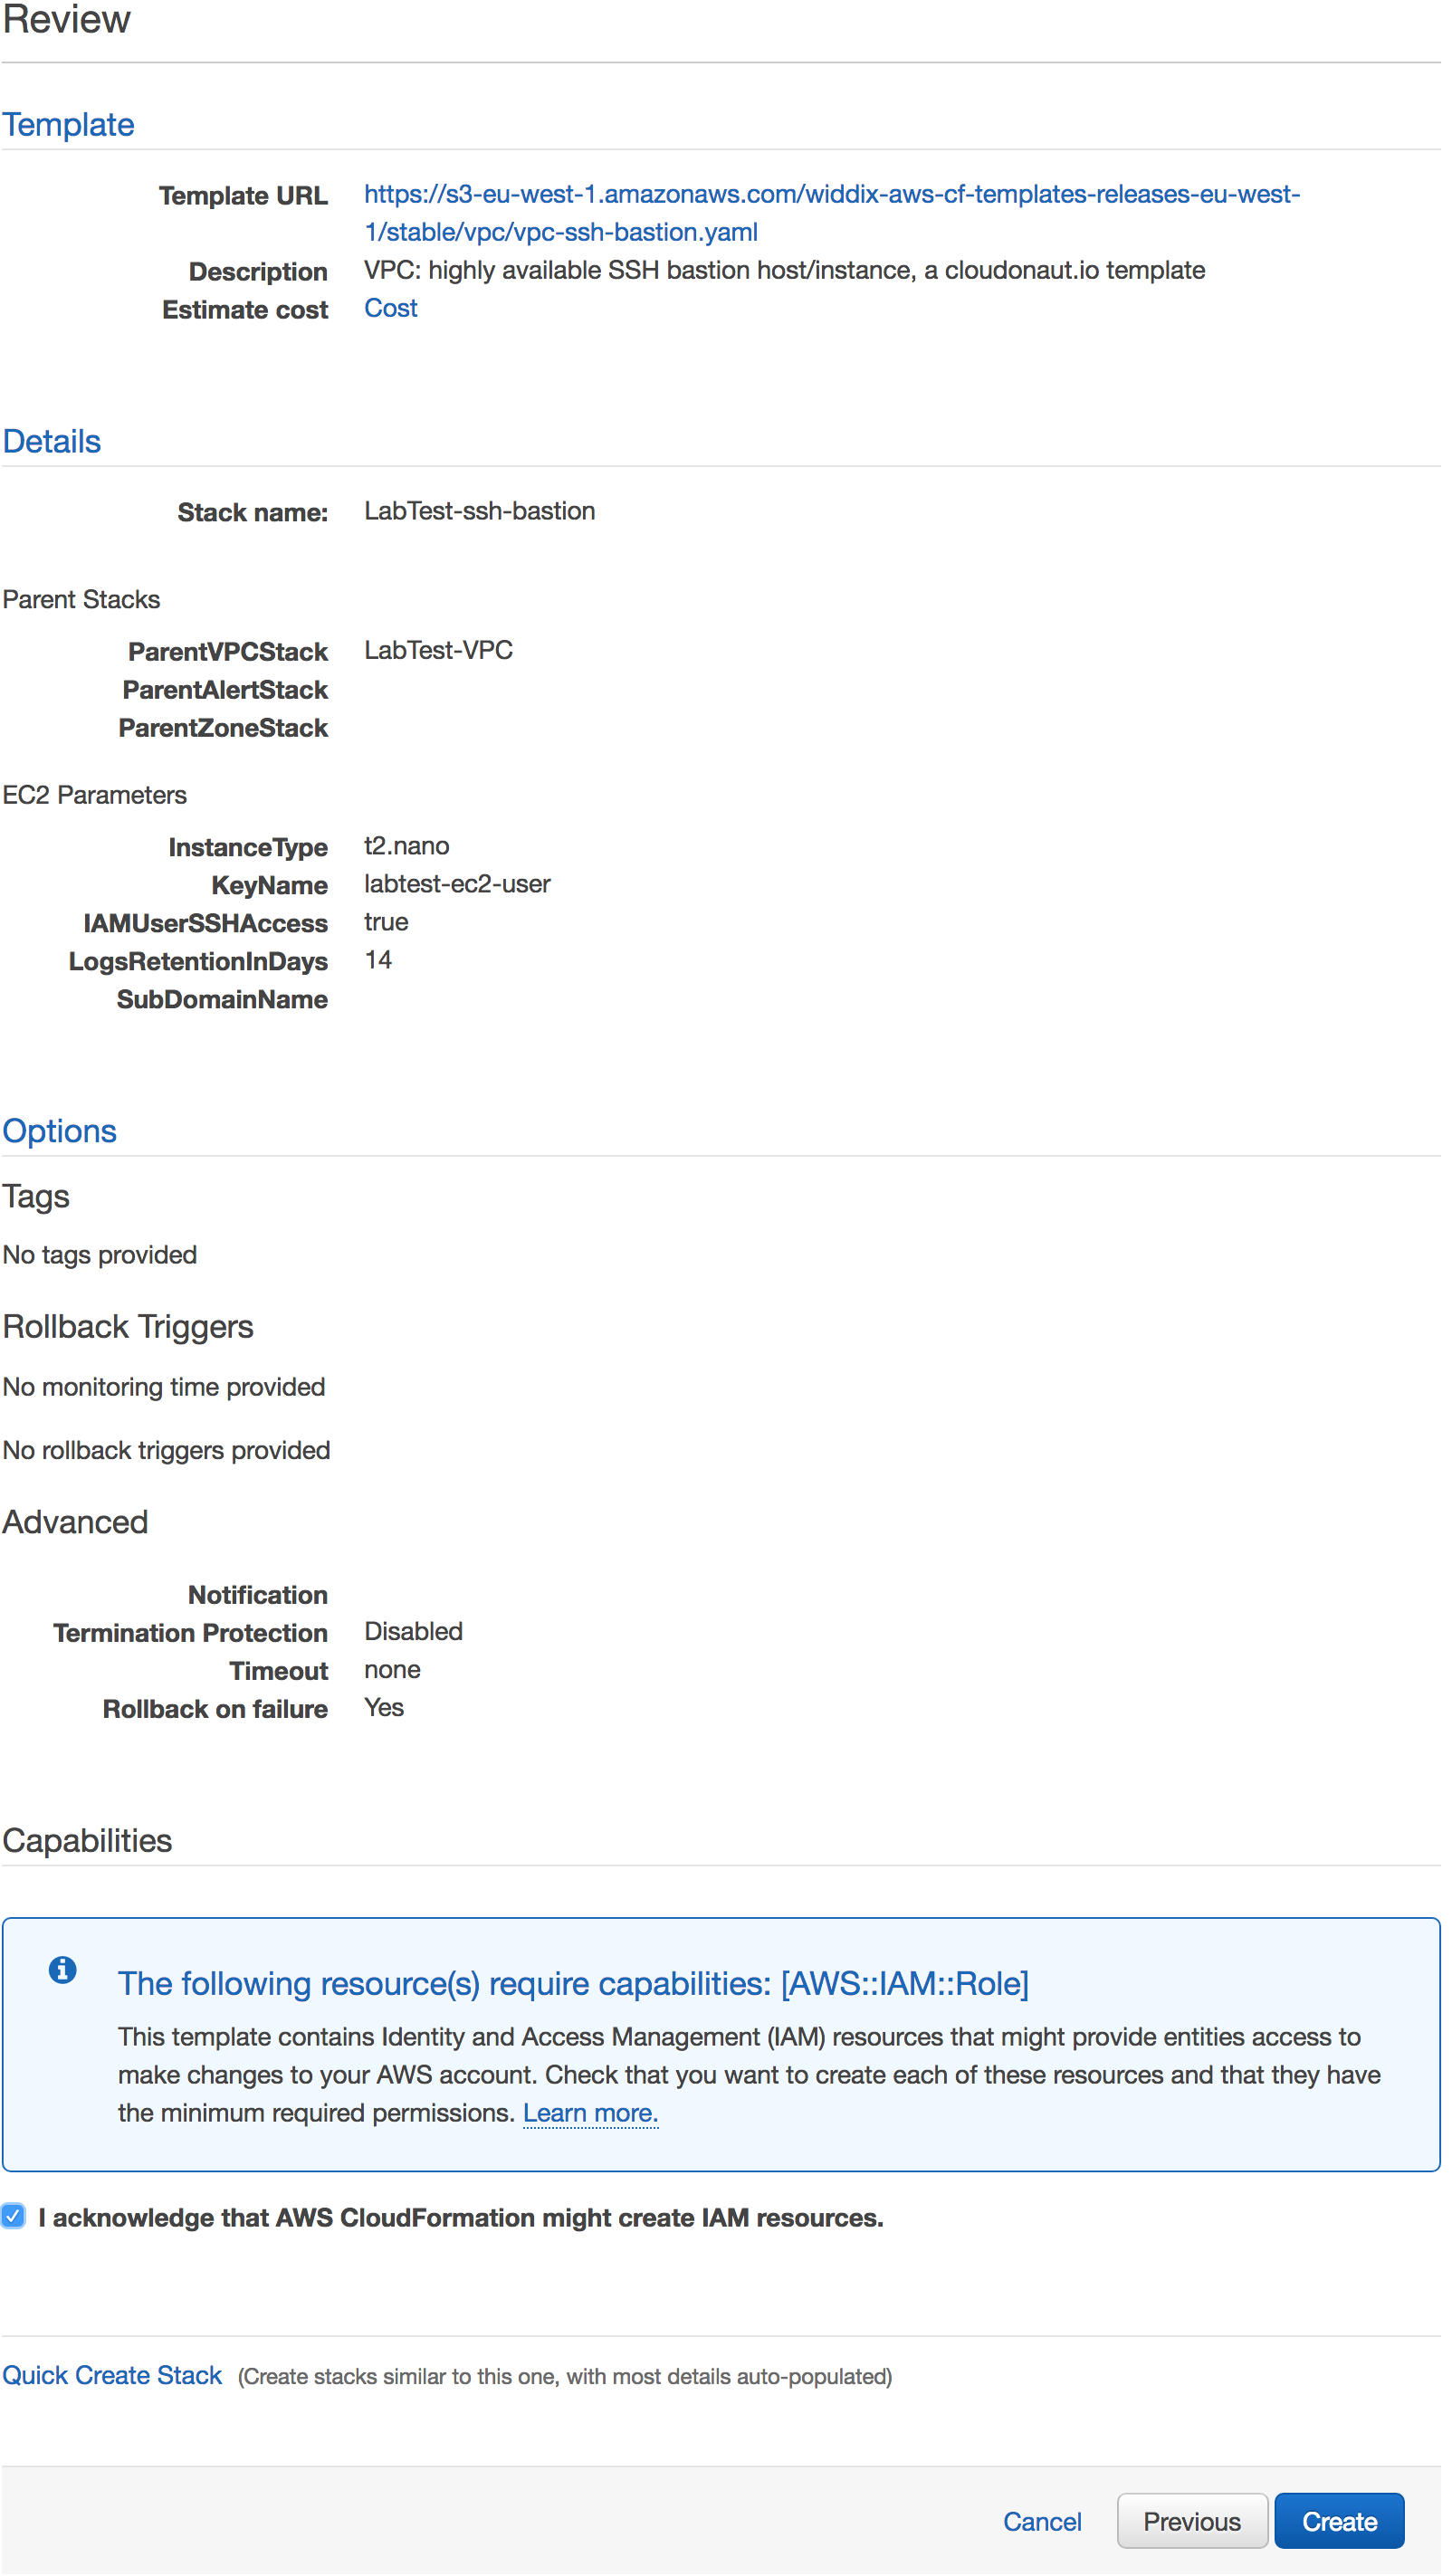
Review everything before creating the SSH bastion.
Review the choices.
Click the I acknowledge that AWS CloudFormation might create IAM resources checkbox.
Click Create to start the creation of the stack.

When it is done, it will say “CREATE_COMPLETE.”
Wait until the stack reaches the state CREATE_COMPLETE.
Create the secret provider
Download secret provider template.

Select Upload a template to Amazon S3.
Select the new cfn-resource-provider.yaml as the file.
Click Next to proceed with the next step of the wizard.
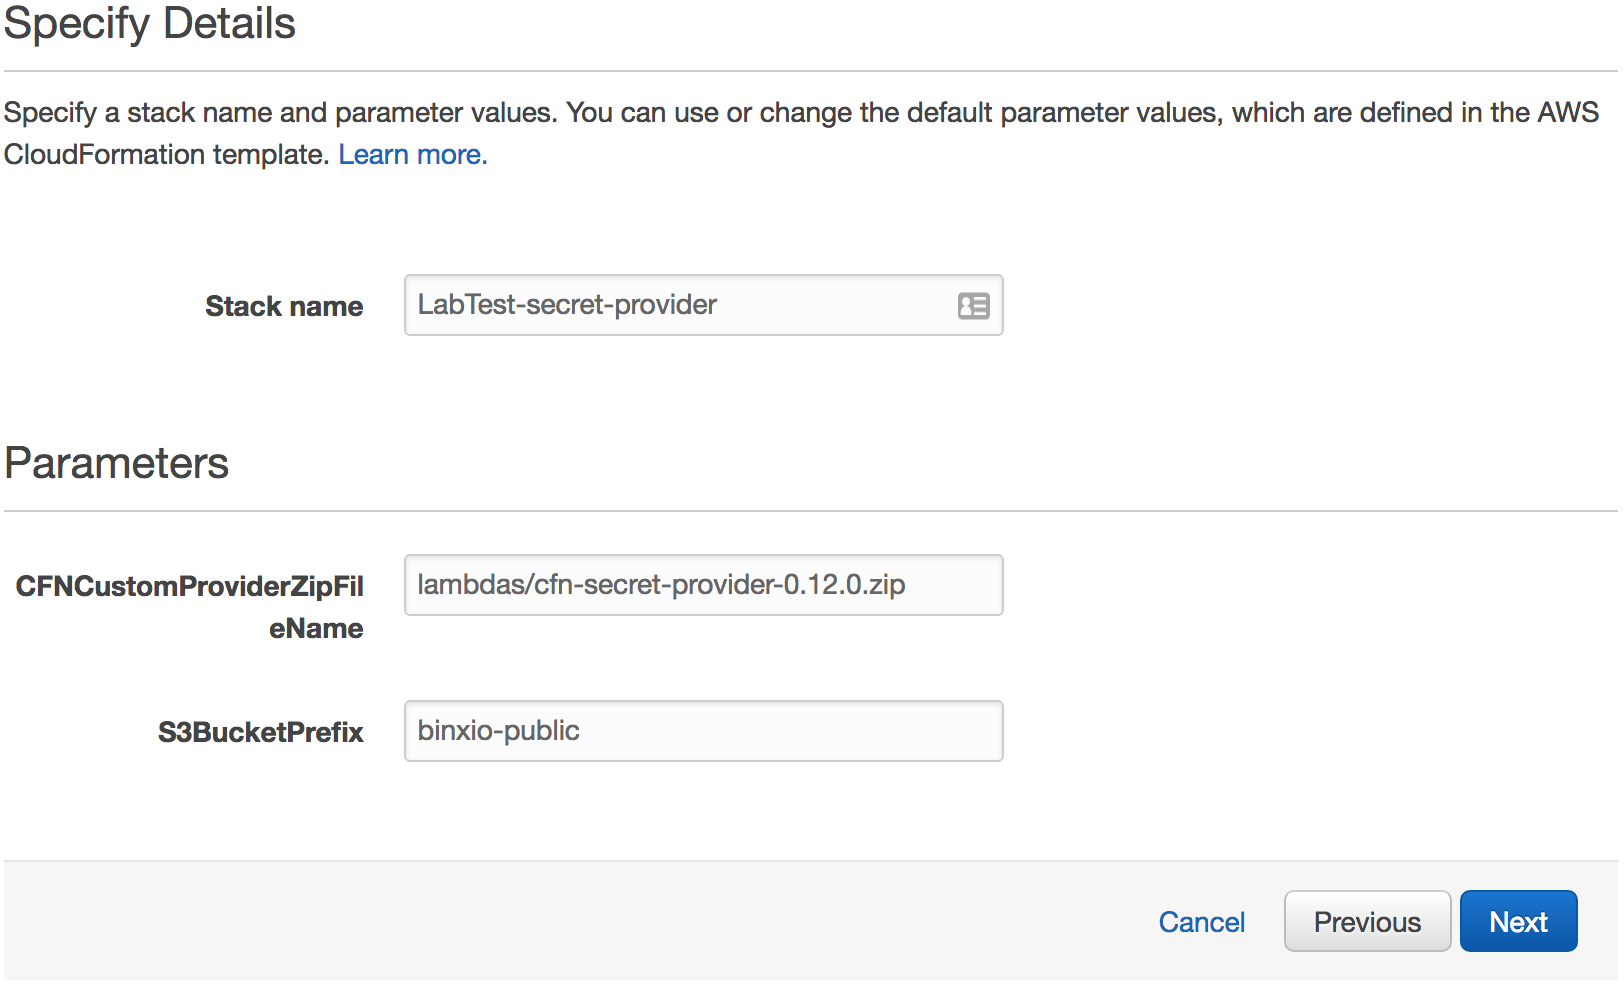
Give it a Stack name.
Leave the other options with their defaults.
Click Next.
Skip the options for the secret provider stack template.
Click Next to skip the Options step of the wizard.
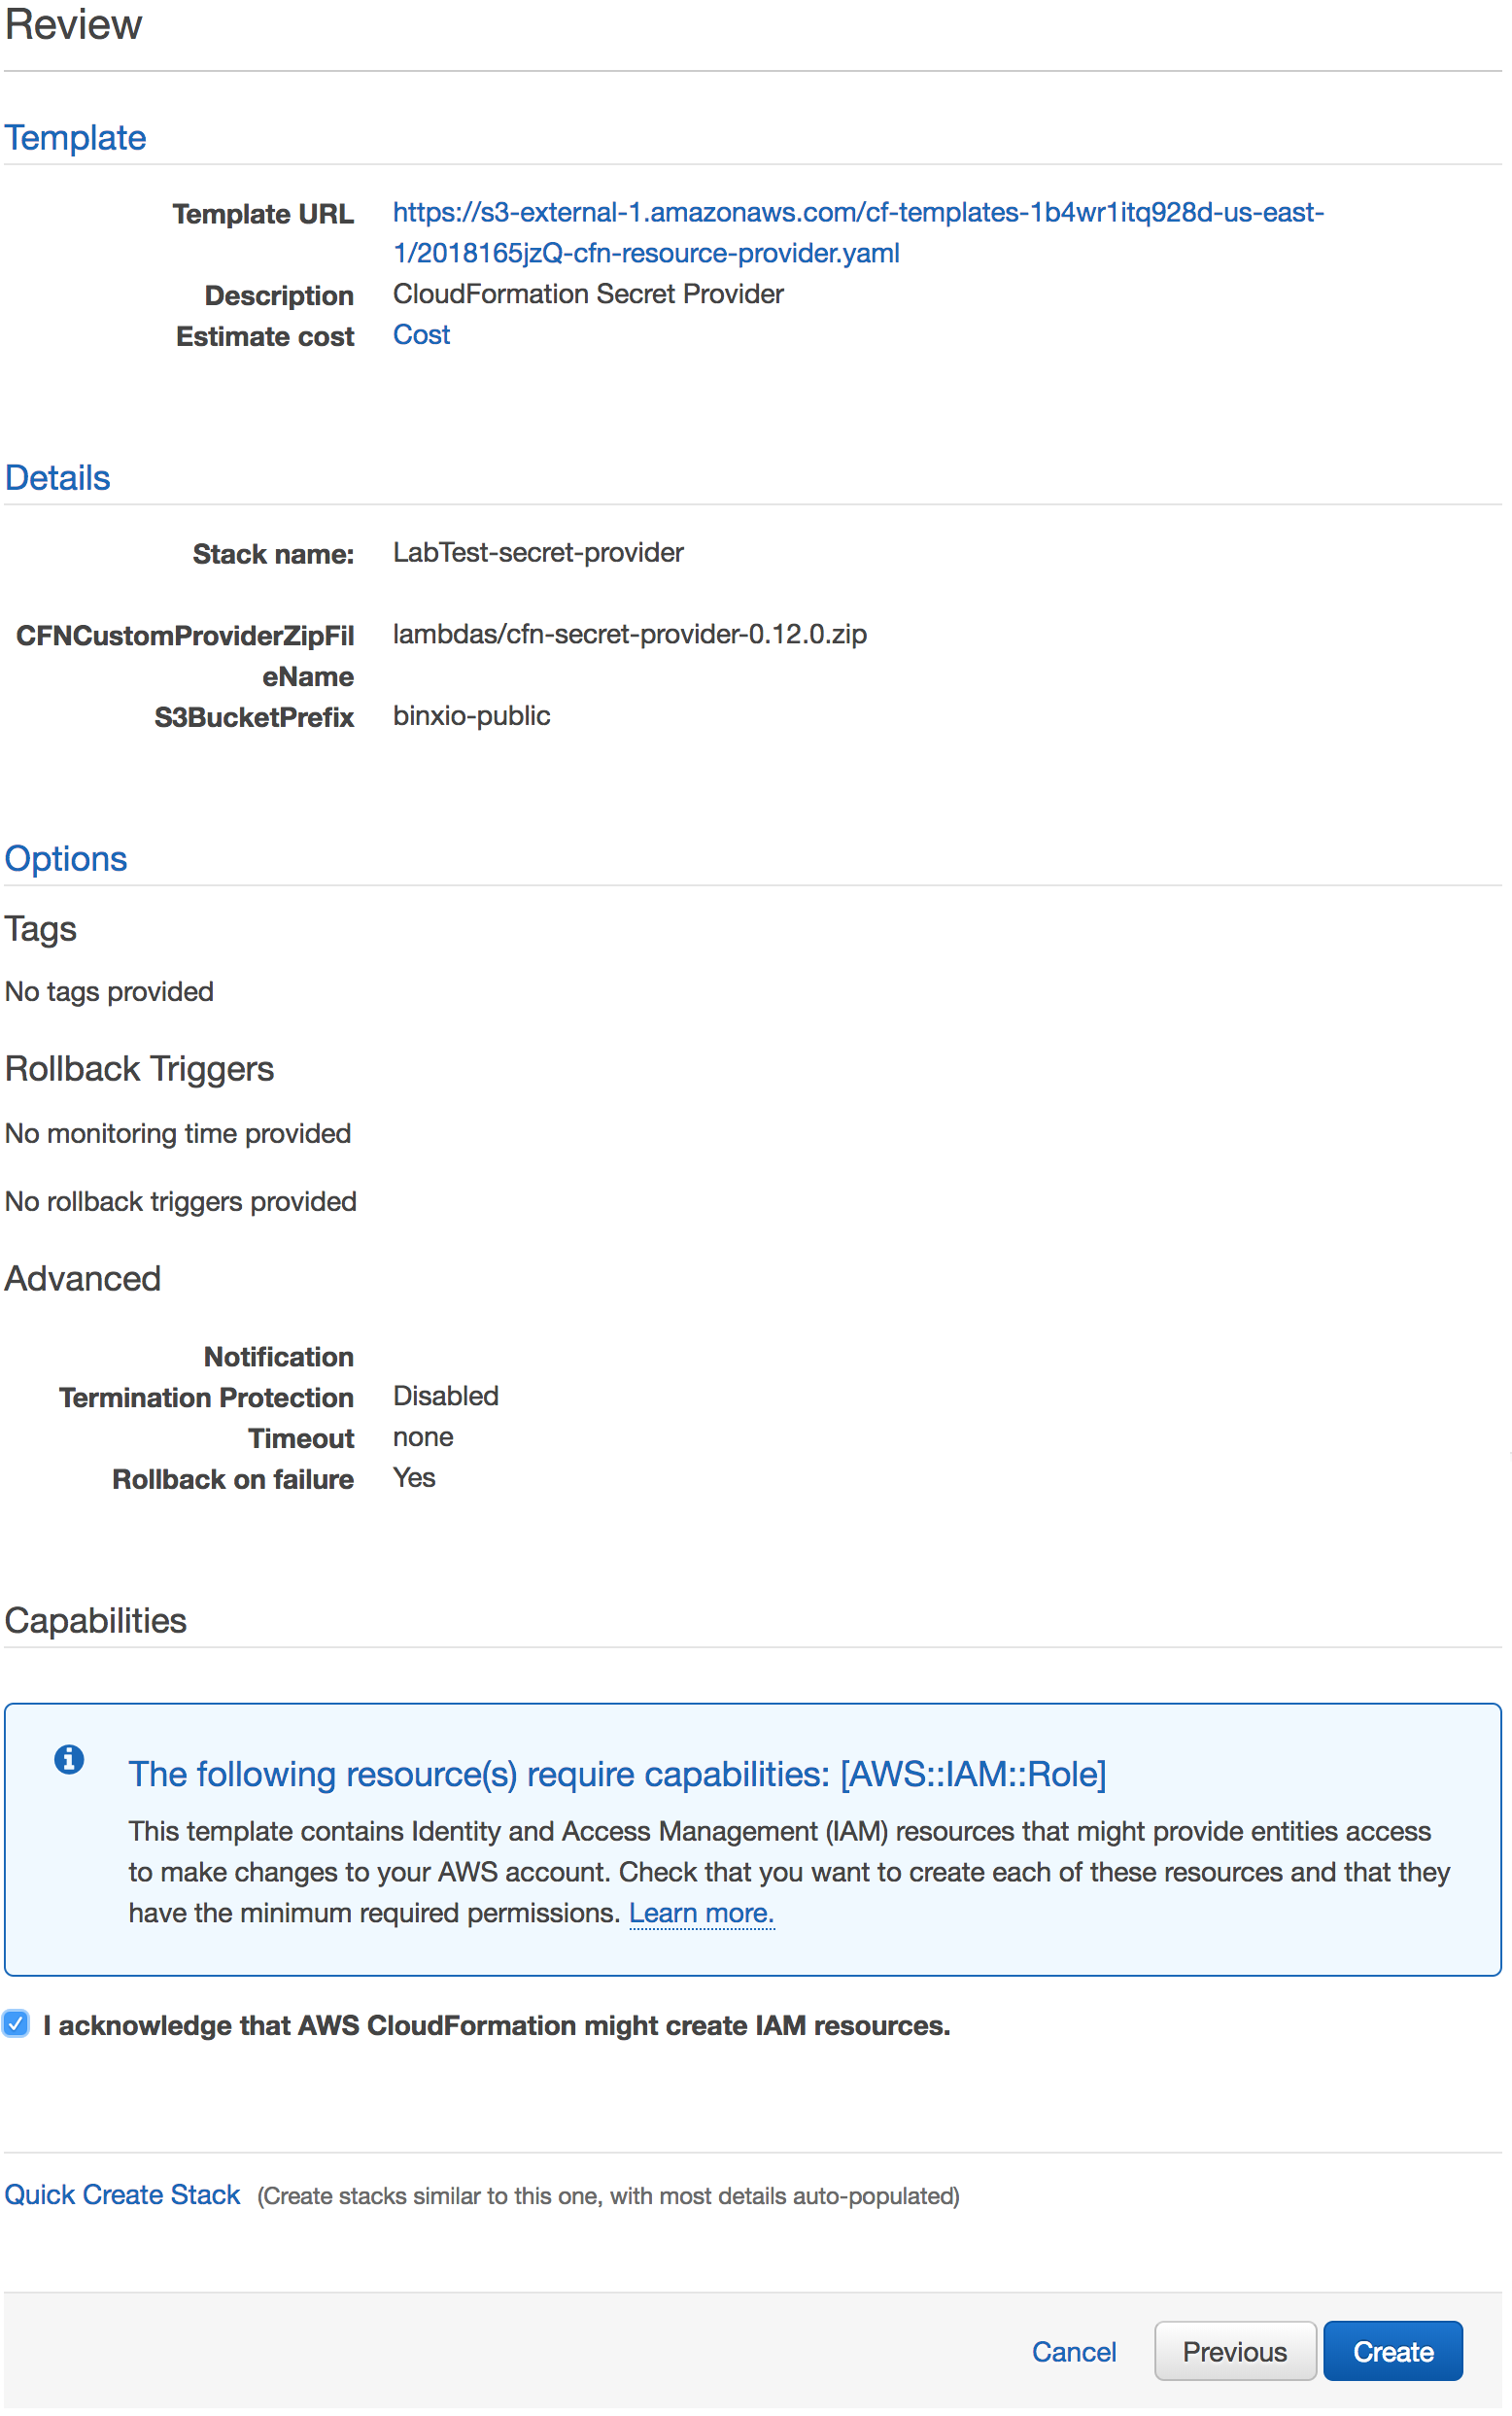
Review the options for the secret provider stack template.
Click I acknowledge that AWS CloudFormation might create IAM resources.
Click Create to create the secret provider.

When it is done, it will say “CREATE_COMPLETE.”
Wait until the stack reaches the state CREATE_COMPLETE.
Create the laboratory server
Download the laboratory server template.
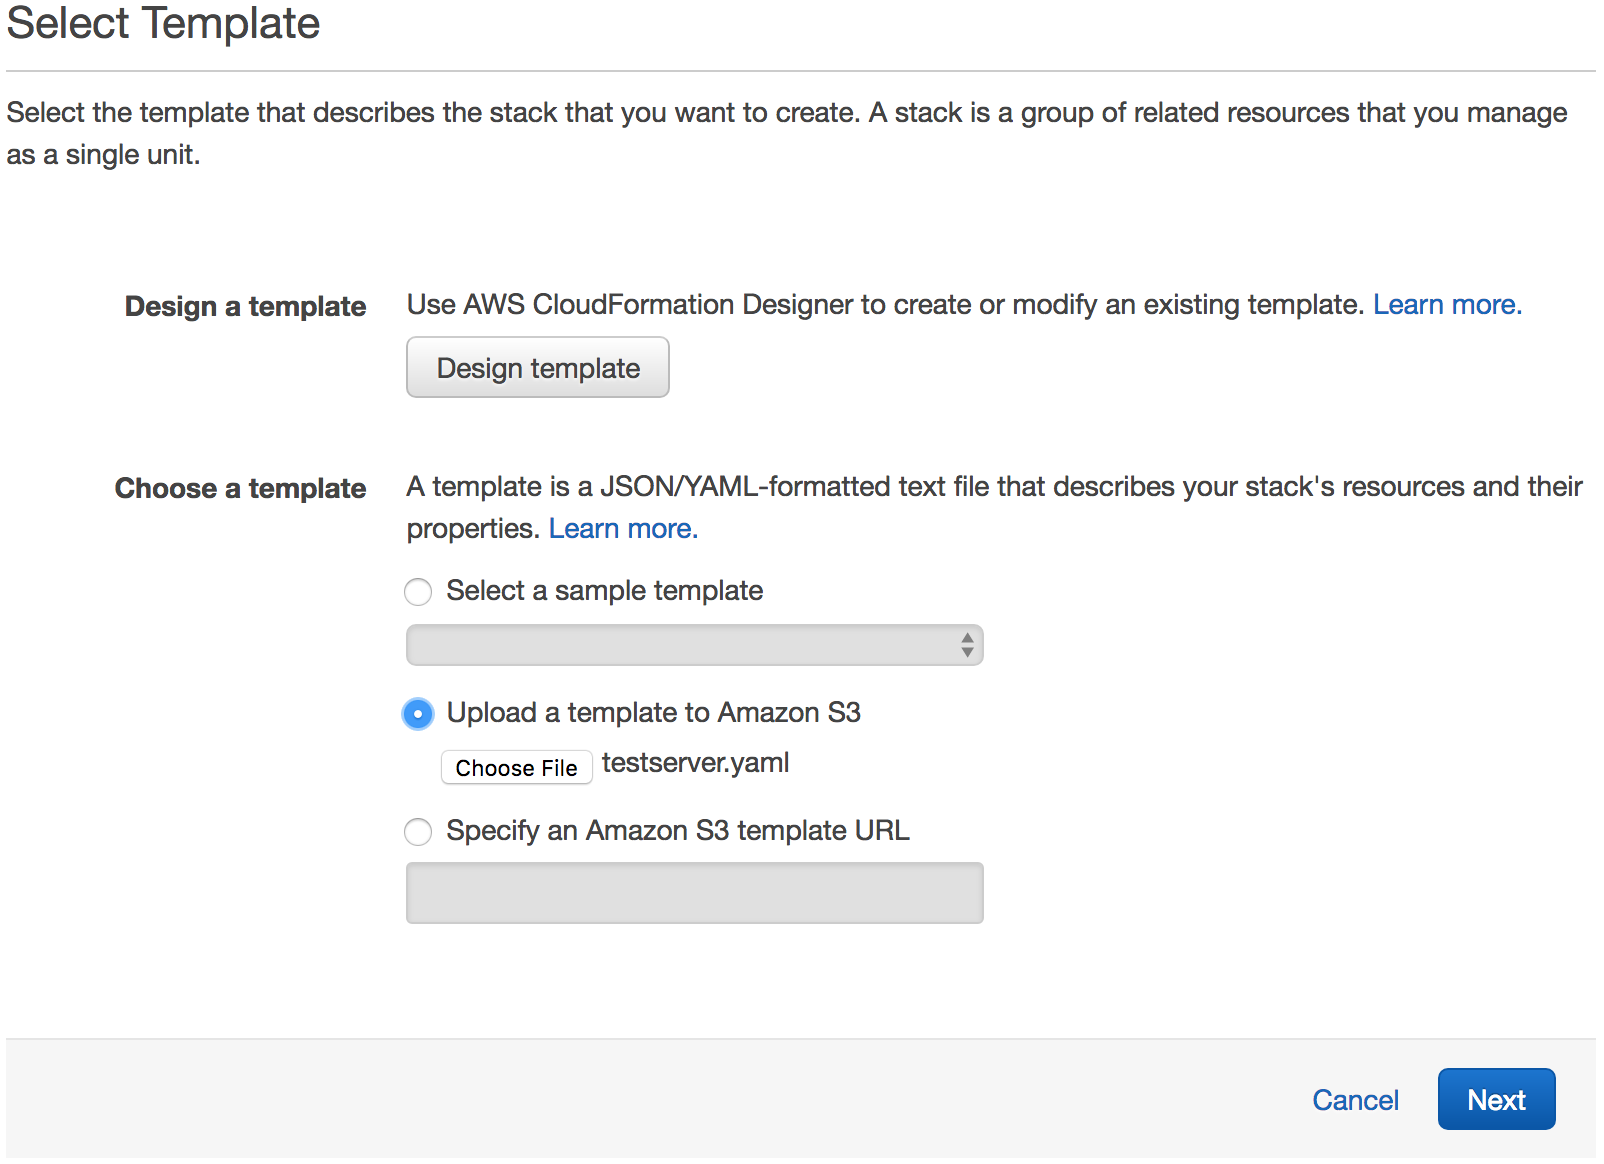
Select Upload a template to Amazon S3.
Select the new testserver.yaml as the file.
Click Next to proceed with the next step of the wizard.
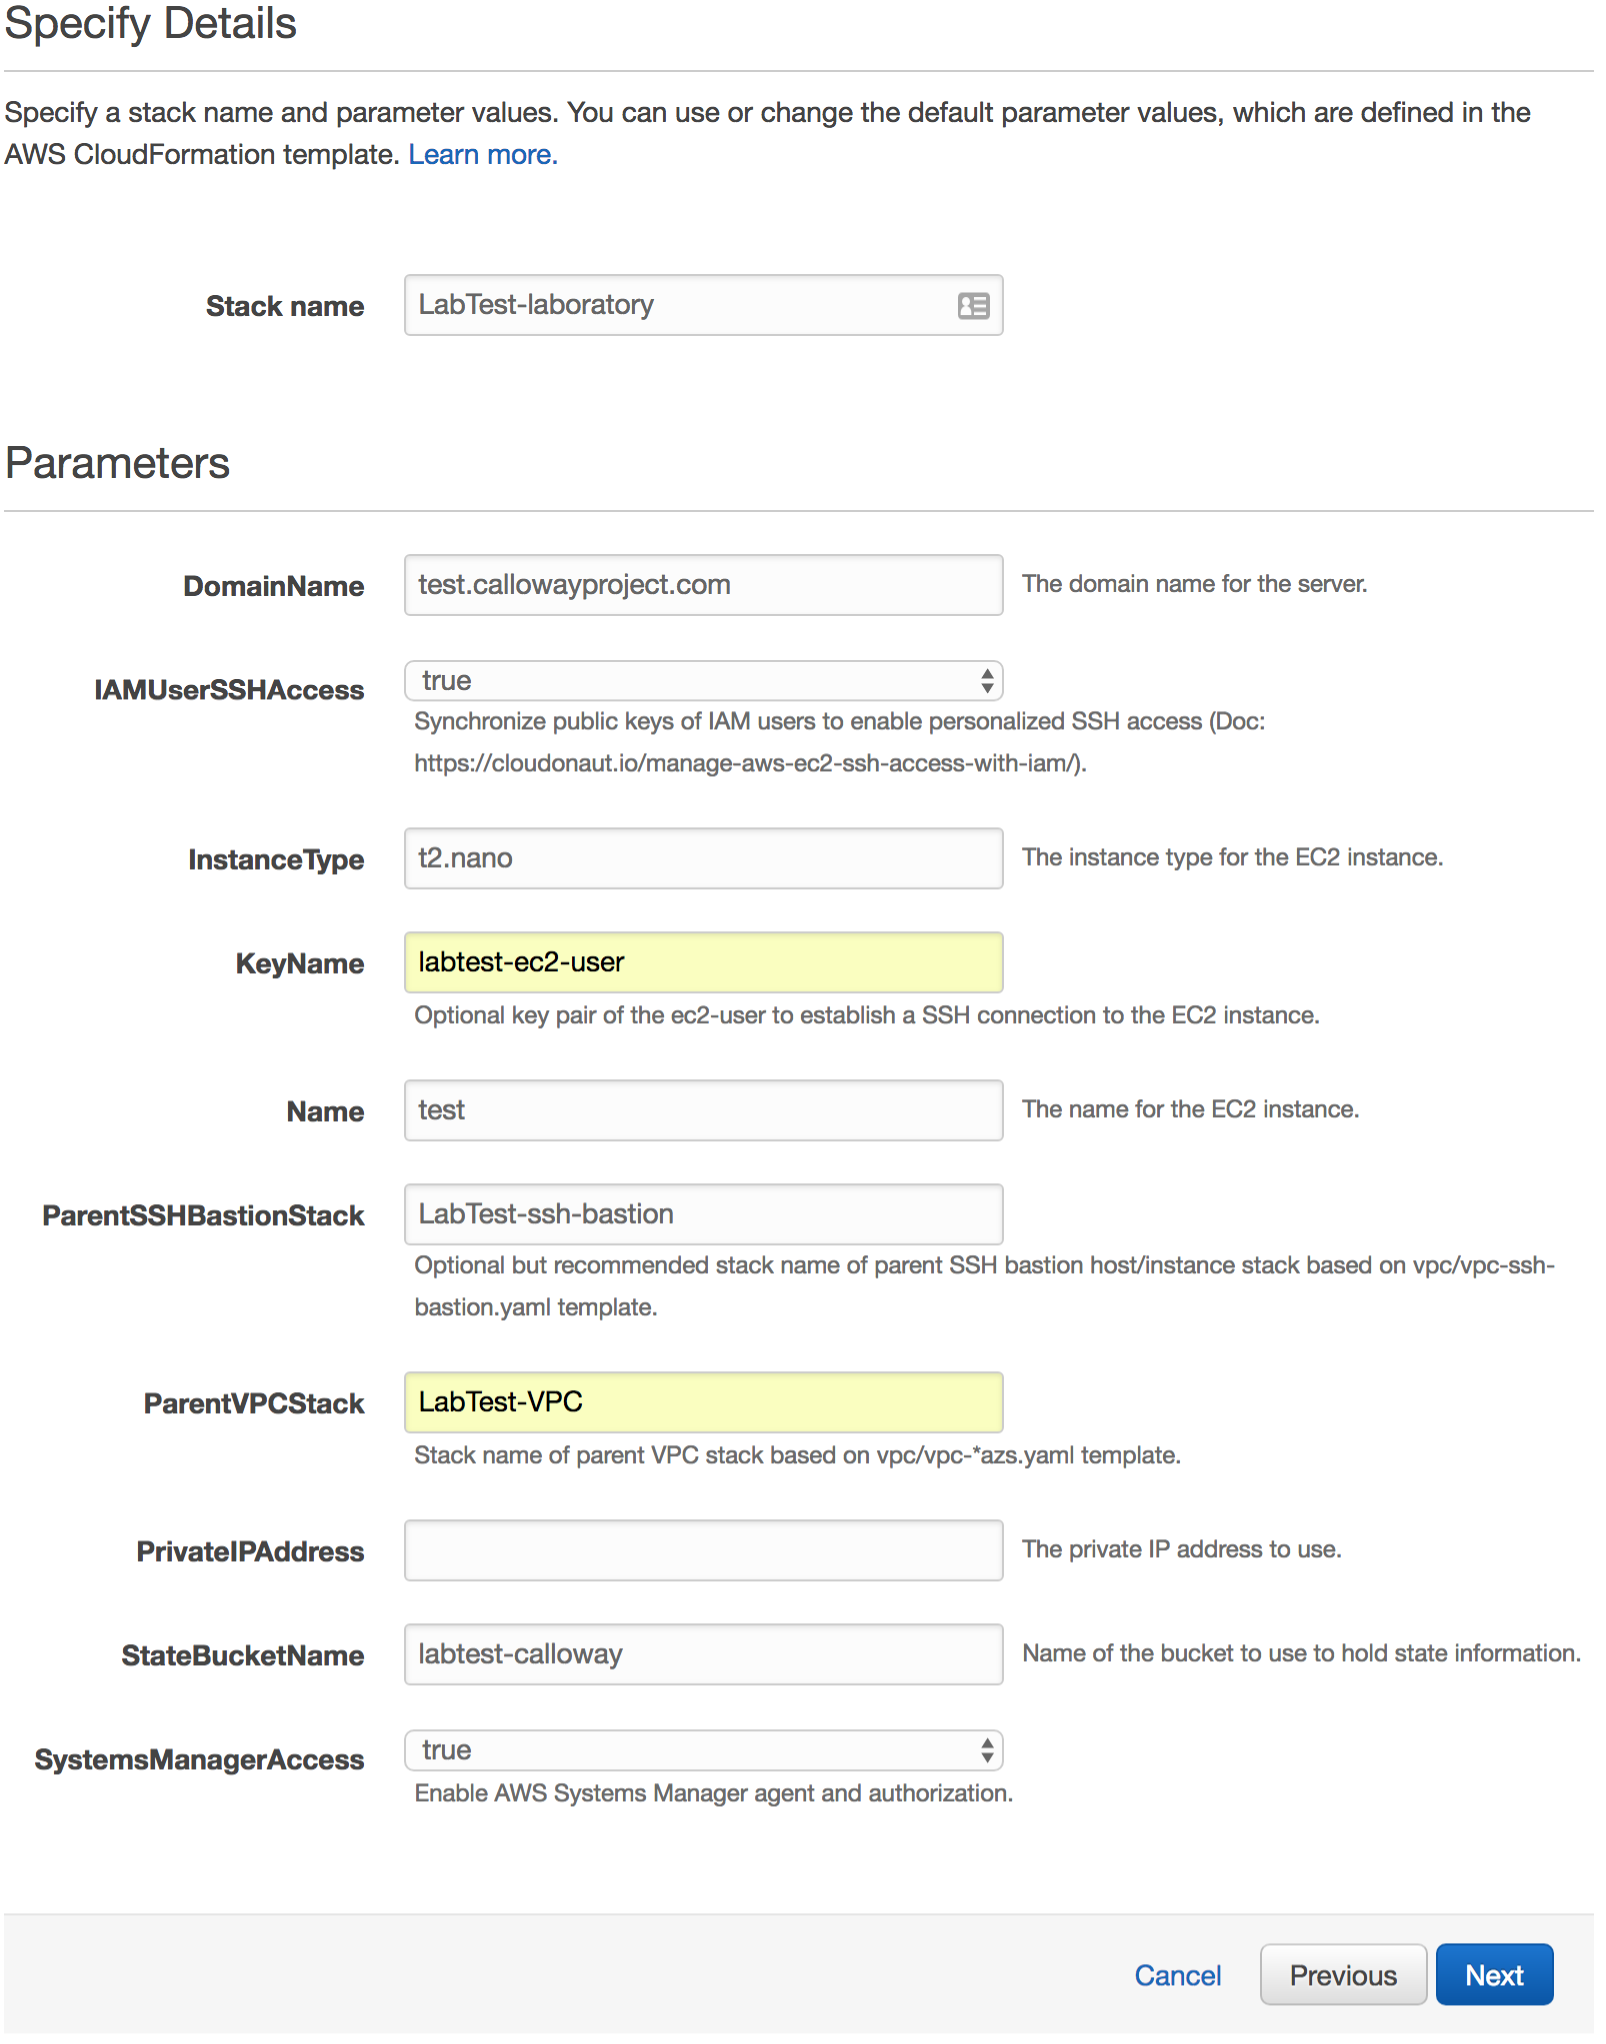
Give it a Stack name.
Set DomainName to the base host name for all your experiments.
Set IAMUserSSHAccess to true so you can use IAM to manage each user’s access.
In the InstanceType field, enter in a valid AWS instance type.
In the KeyName field, enter in the name of the key pair you created previously.
In the Name field, give it a name for the EC2 instance.
In the ParentSSHBastionStack field, put in the name of the SSH bastion stack you created previously.
In the ParentVPCStack field, put in the name of the VPC stack you created previously.
In the PrivateIPAddress field, you can set it to an IP address of your choice. This is helpful if you are re-creating this stack and don’t want to break other configurations.
Set the StateBucketName field to a unique name to manage the state of your laboratory.
Set the SystemsManagerAccess to true to enable AMS systems manager.
Click Next.
Skip the options for the secret provider stack template.
Click Next to skip the Options step of the wizard.
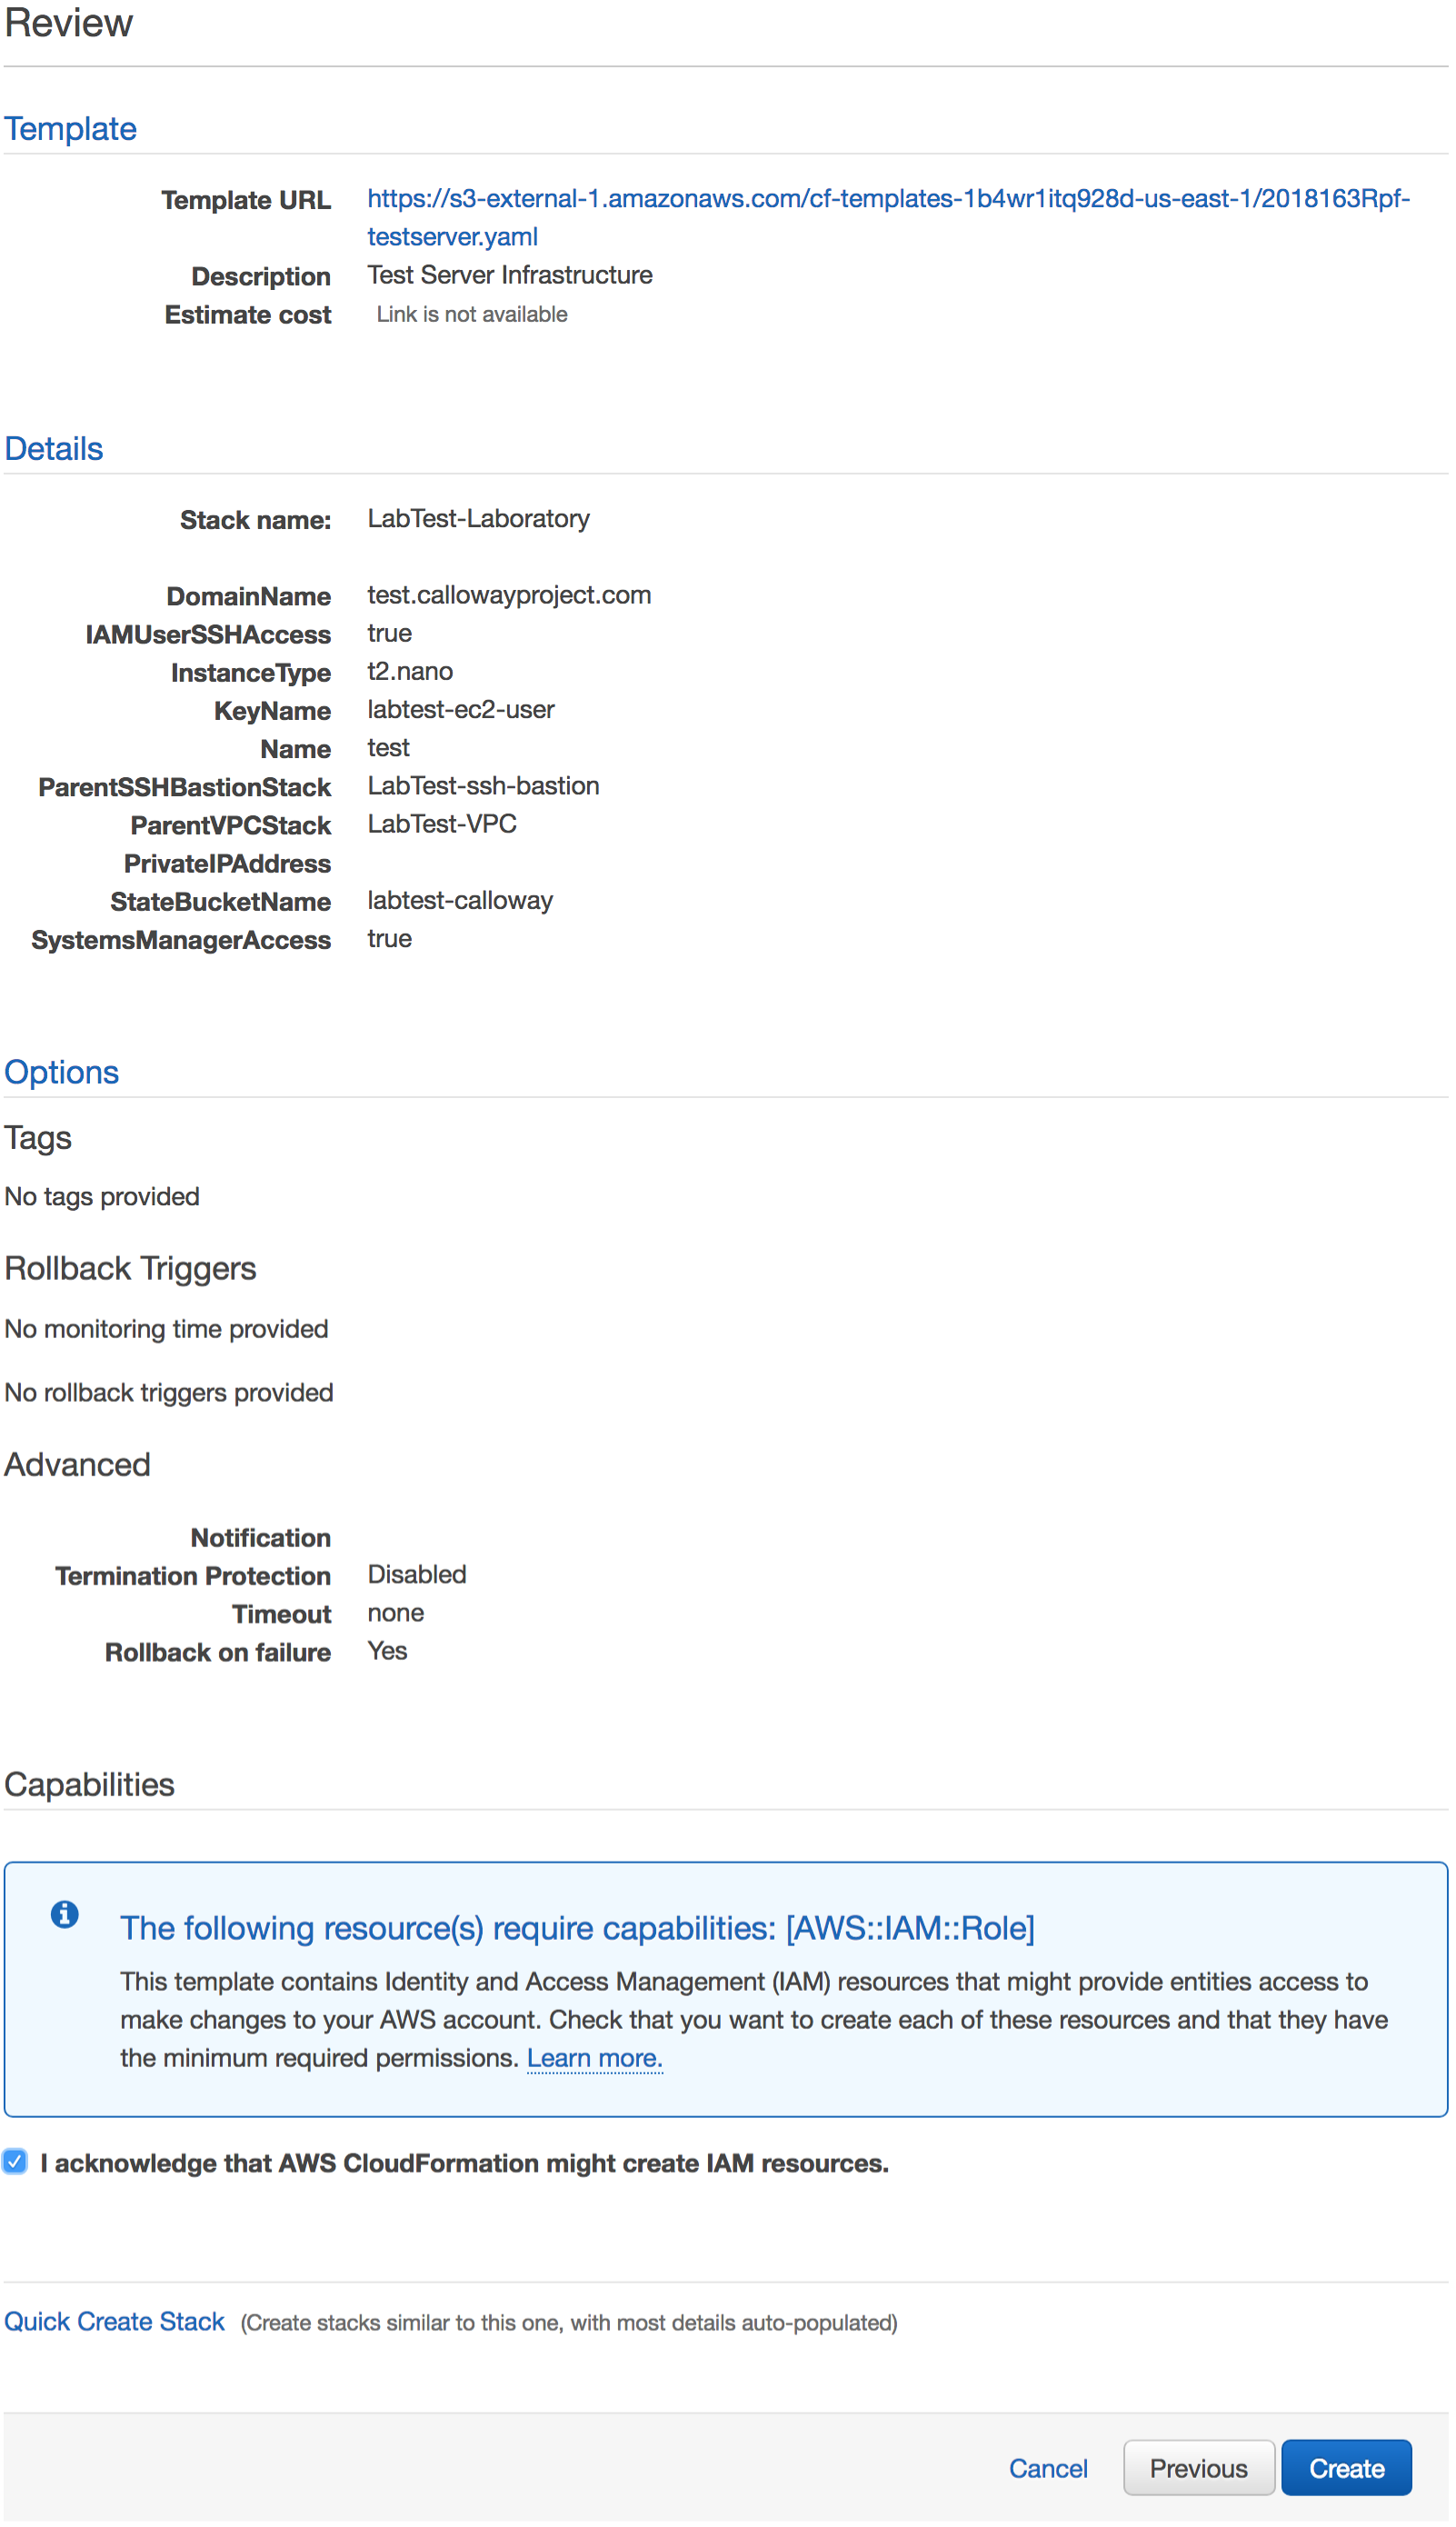
Review the options for the laboratory stack template.
Click I acknowledge that AWS CloudFormation might create IAM resources.
Click Create to create the laboratory server.
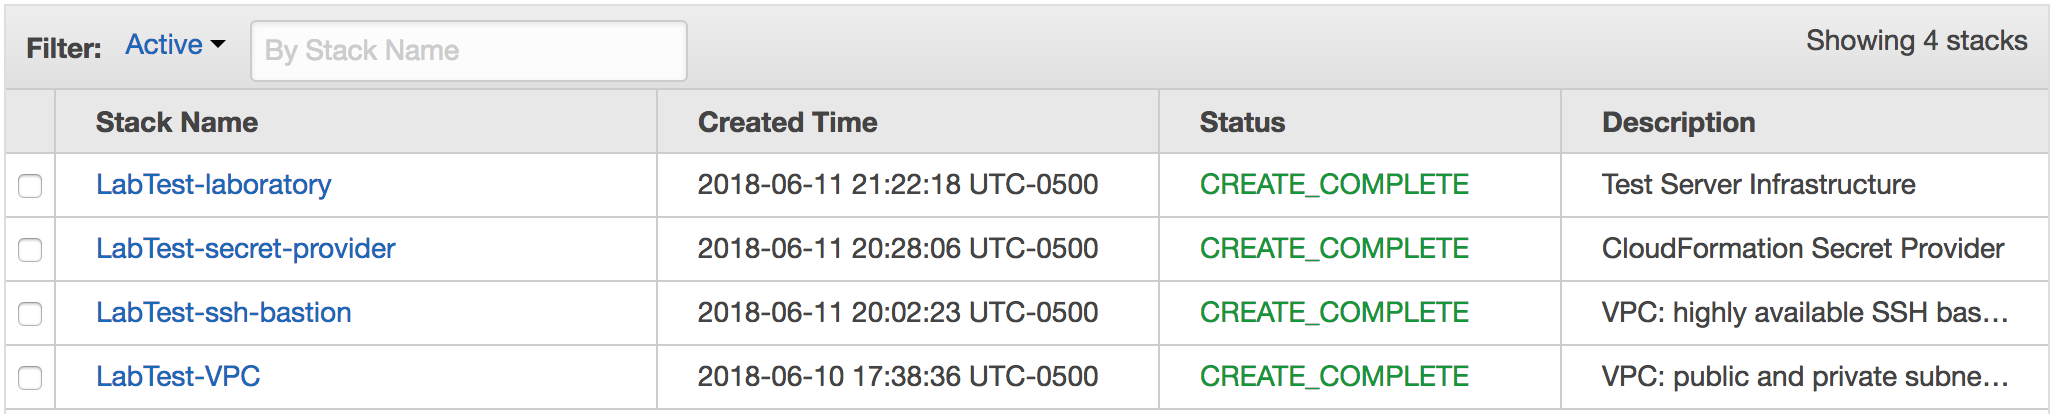
When it is done, it will say “CREATE_COMPLETE.”
Wait until the stack reaches the state CREATE_COMPLETE.
Gathering outputs
Once all four stacks have been created, we can collect the information we need to connect.
Click on the SSH bastion stack checkbox and select the Outputs tab.
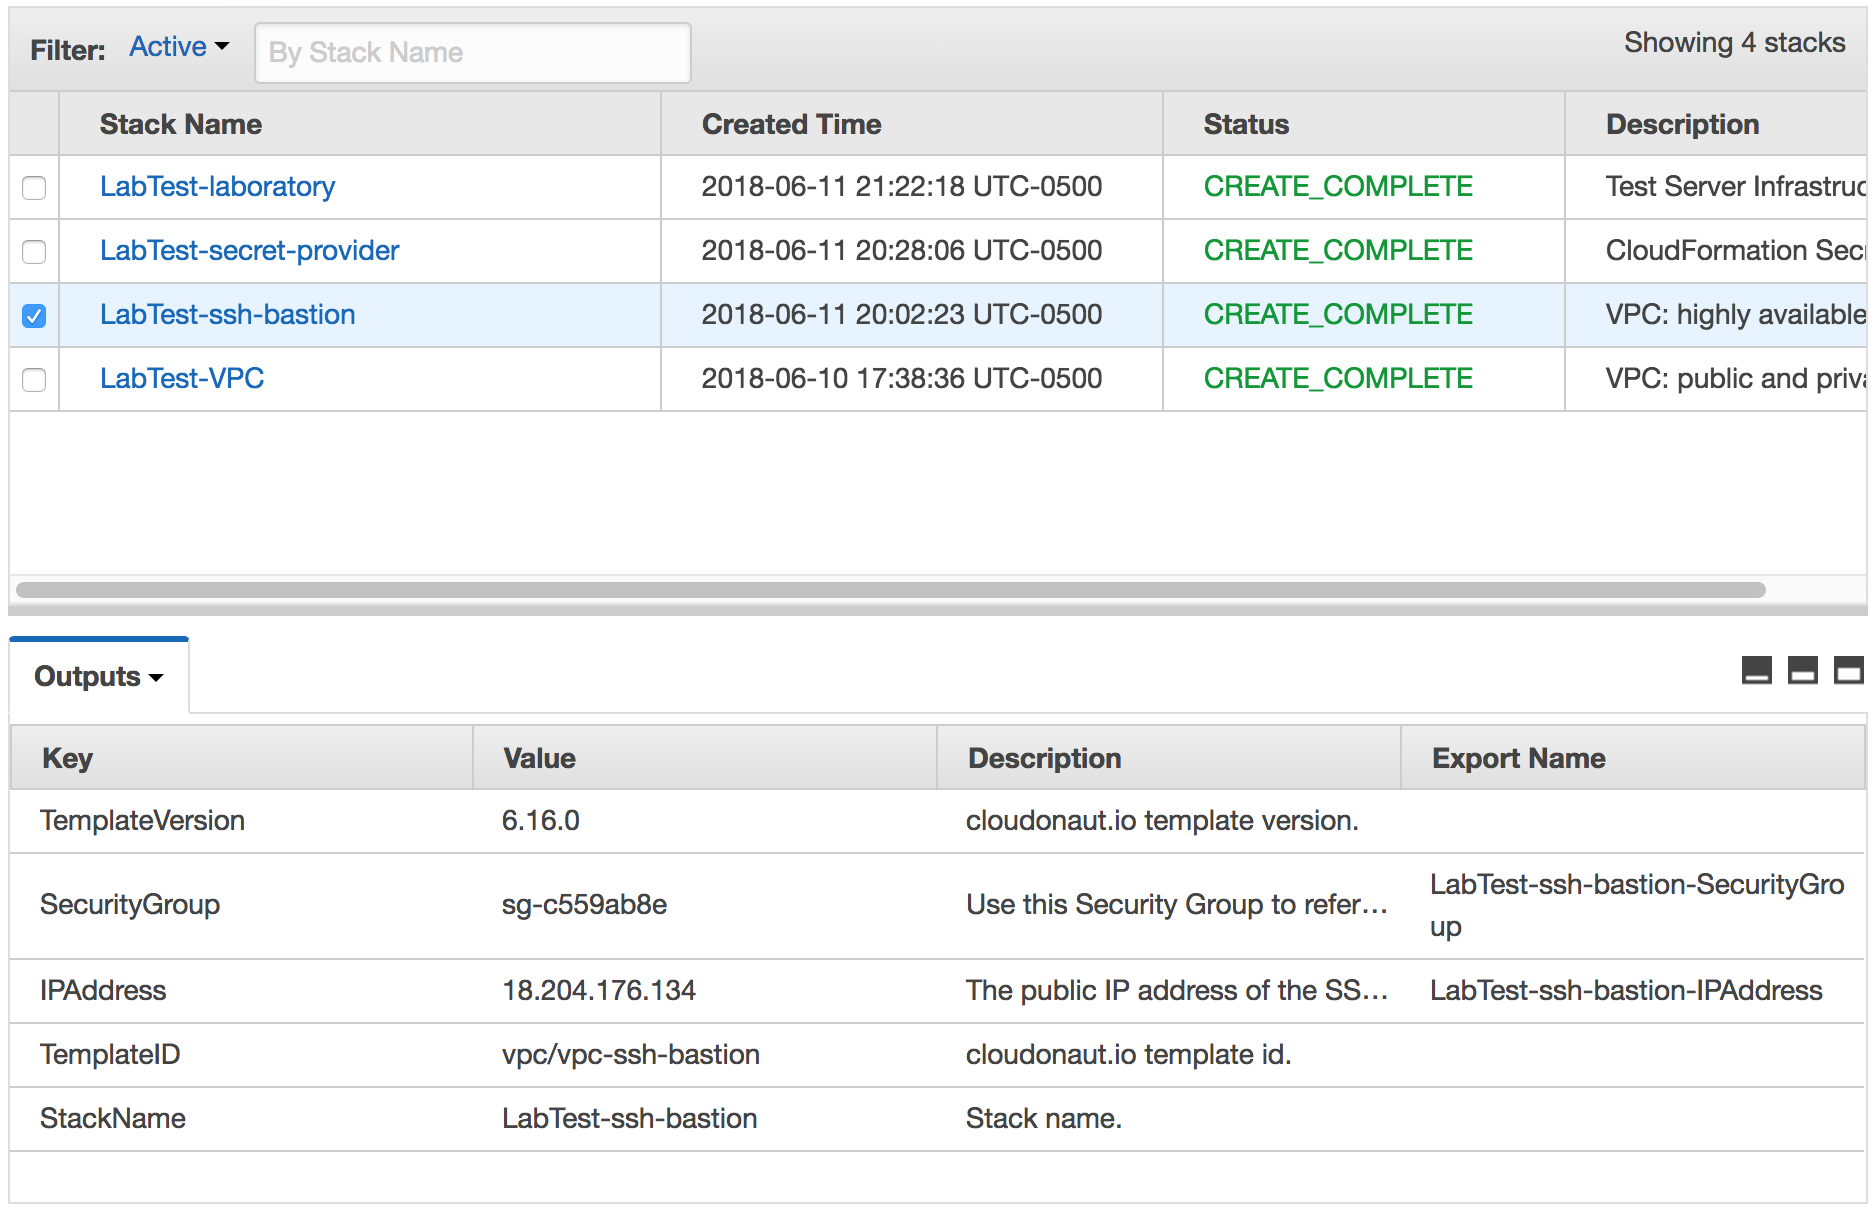
The outputs of the SSH bastion stack creation.
From this stack we only need one value: IPAddress. This is the IP address all connections will go through.
Click on the Laboratory server stack checkbox and select the Outputs tab.
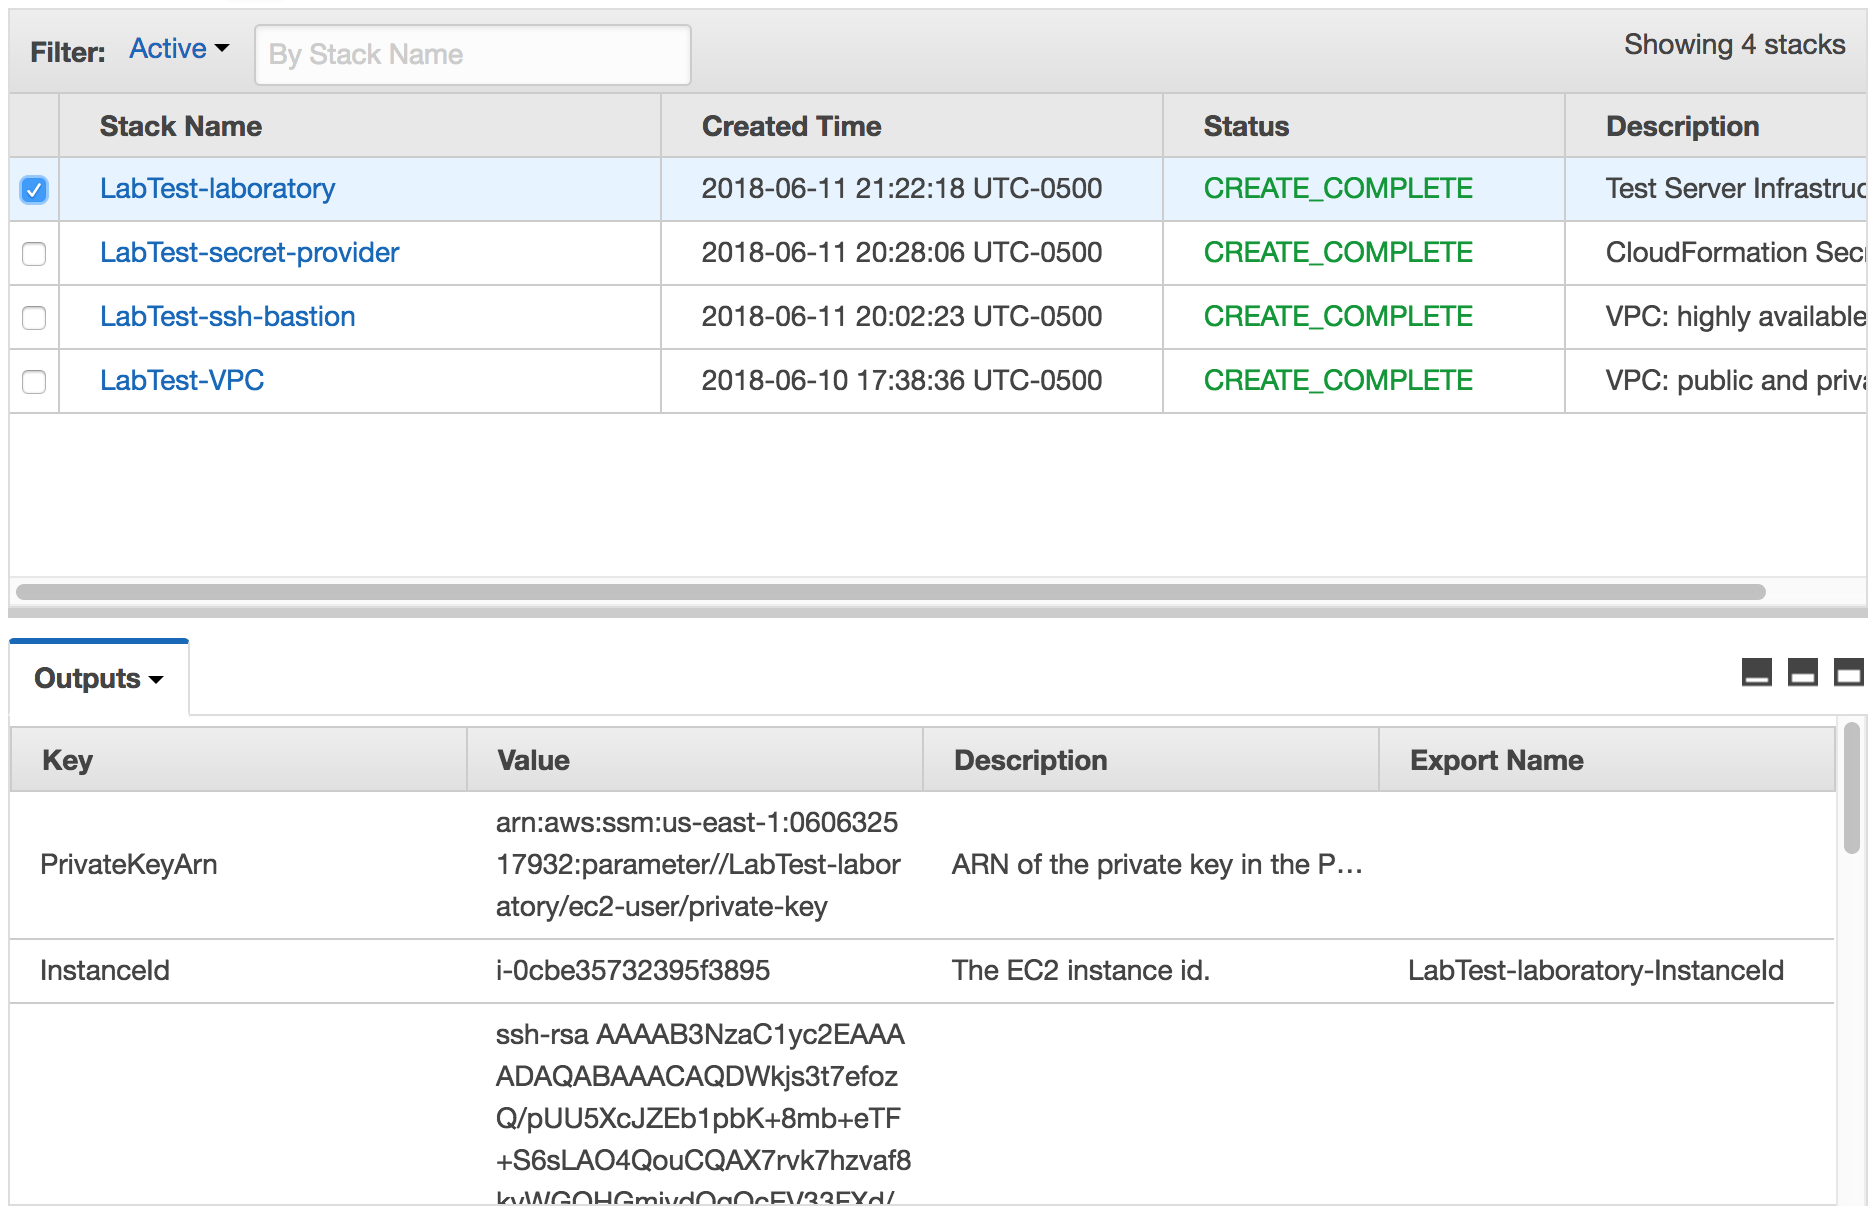
The outputs of the laboratory server stack creation.
There are several values of interest in this stack.
PublicKey is used to create machine accounts in any system that requires SSH access, like Git repositories.
PublicIPAddress is used for the wildcard DNS entry.
PrivateIPAddress is used in the local SSH configuration to connect to this machine via the SSH bastion.
Set up the users
To gain access, we need to follow the directions at Setting up users for each user.
Set up the DNS
For this tutorial, we are going to create a wildcard DNS using AWS Route 53. Different DNS providers will have different methods for setting up these records.
Go to the Route 53 Hosted zones page.

The Route 53 hosted zones.
Click on your domain.
Create the laboratory DNS record
Click on Create Record set.
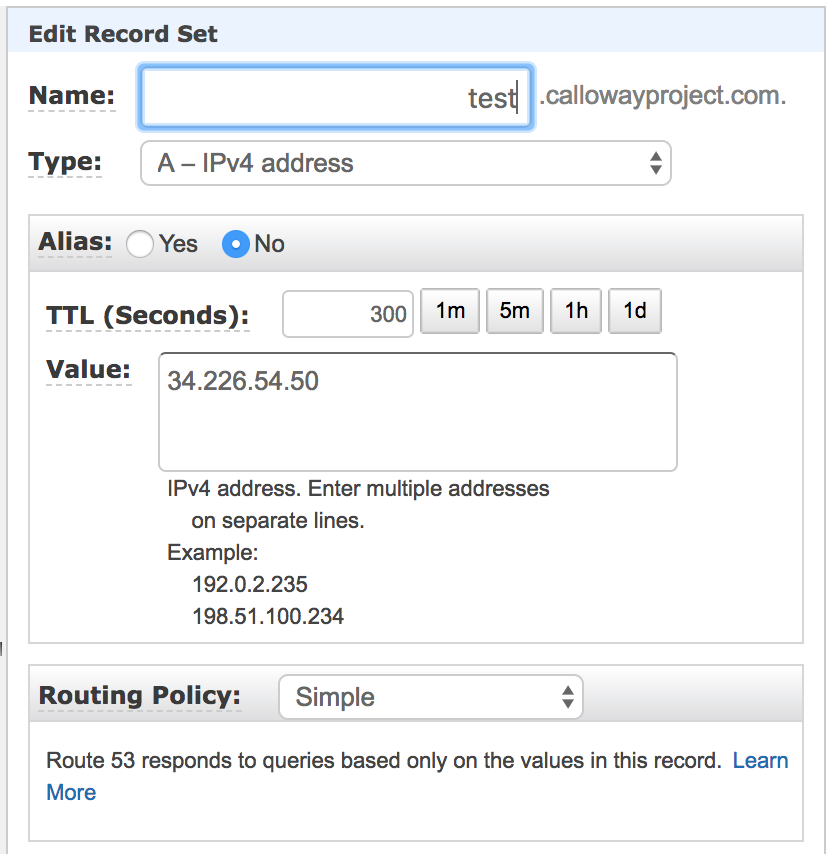
Set Name to the test (or the subdomain you are using).
Set Type to A-IPv4 address.
Set Alias to No.
Set TTL (Seconds) to 300.
Set Value to the public IP address of the laboratory server.
Routing Policy Simple
Click Create.
Create the wildcard DNS record
Click on Create Record set.
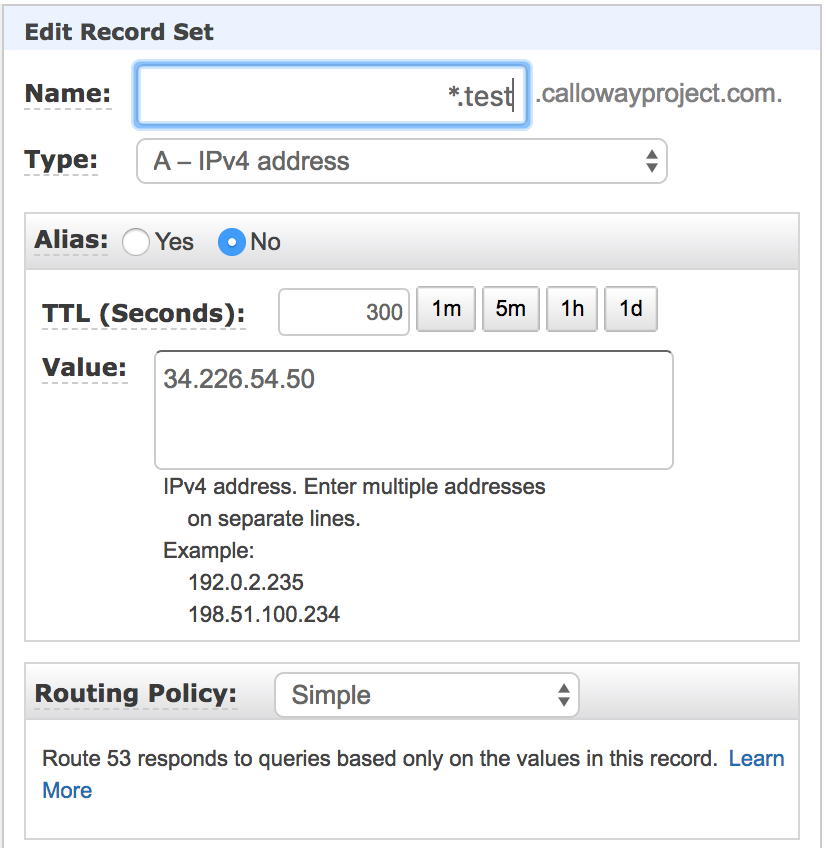
Set Name to the *.test (or the subdomain you are using).
Set Type to A-IPv4 address.
Set Alias to No.
Set TTL (Seconds) to 300.
Set Value to the public IP address of the laboratory server.
Set Routing Policy to Simple.
Click Create.
Verify
Go to the test domain and you should see the default splash page.
LabTest’s default splash screen.
Configure your machine
The instructions for configuring your machine are detailed in Setting up your local machine.
You will need the public IP address (or DNS name) for the SSH bastion server, your IAM user name and the local IP address of the laboratory server.